BUSINESS CARD
Goal
Have to create a Business card that represents and gives enough information aout what I am doing and any socials people might need to know for the future if interested.
Process
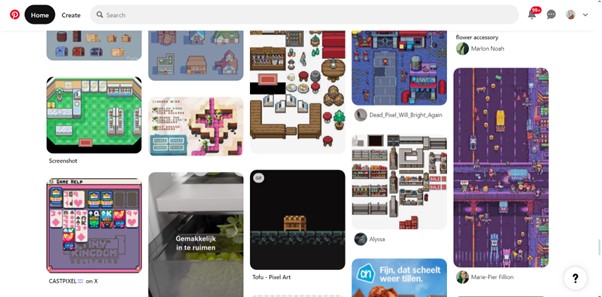
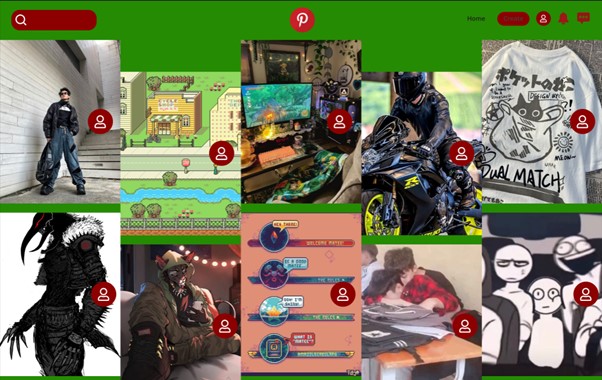
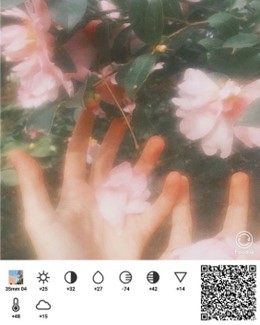
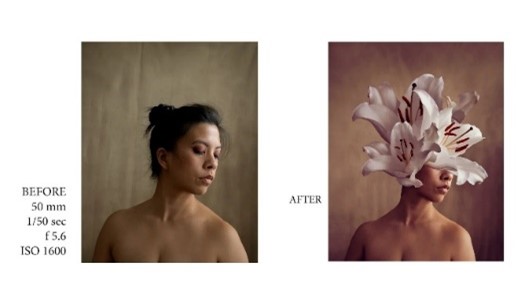
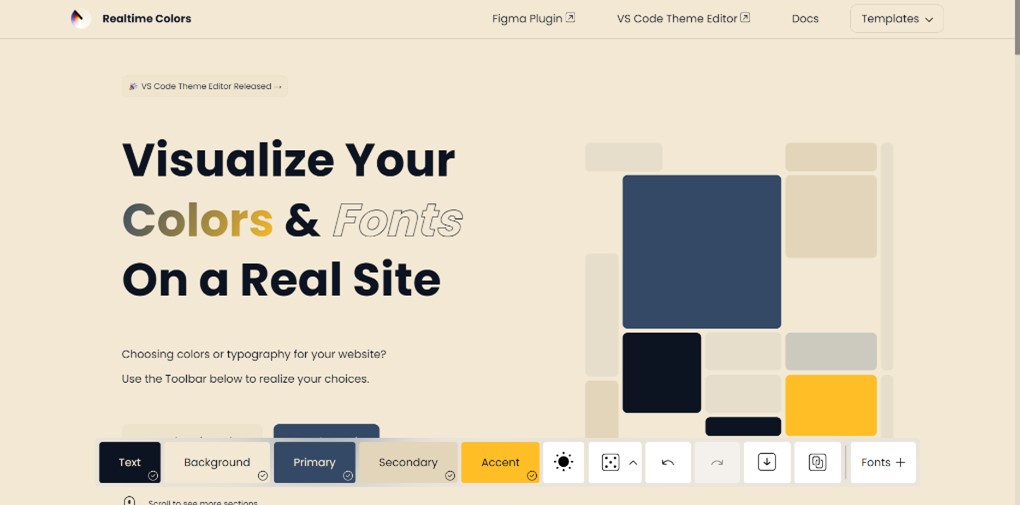
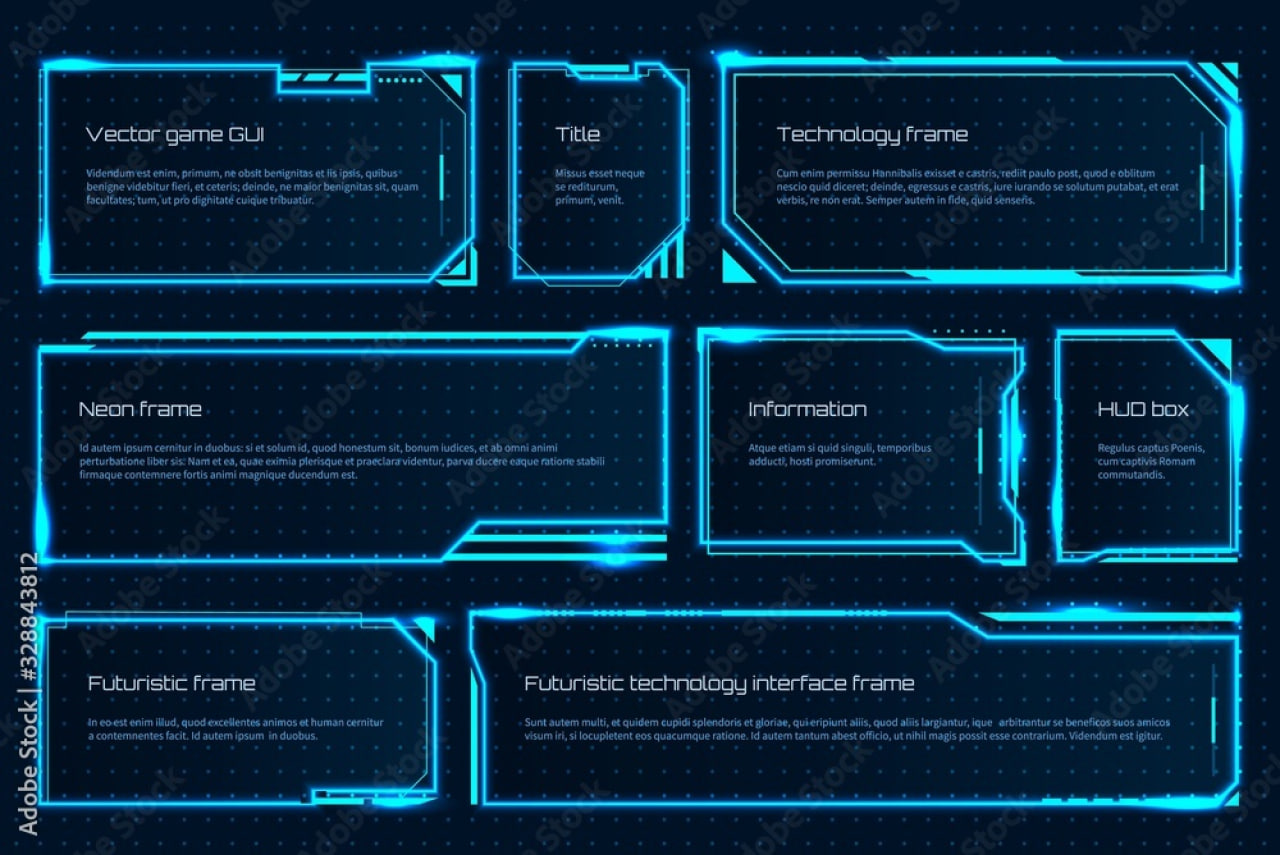
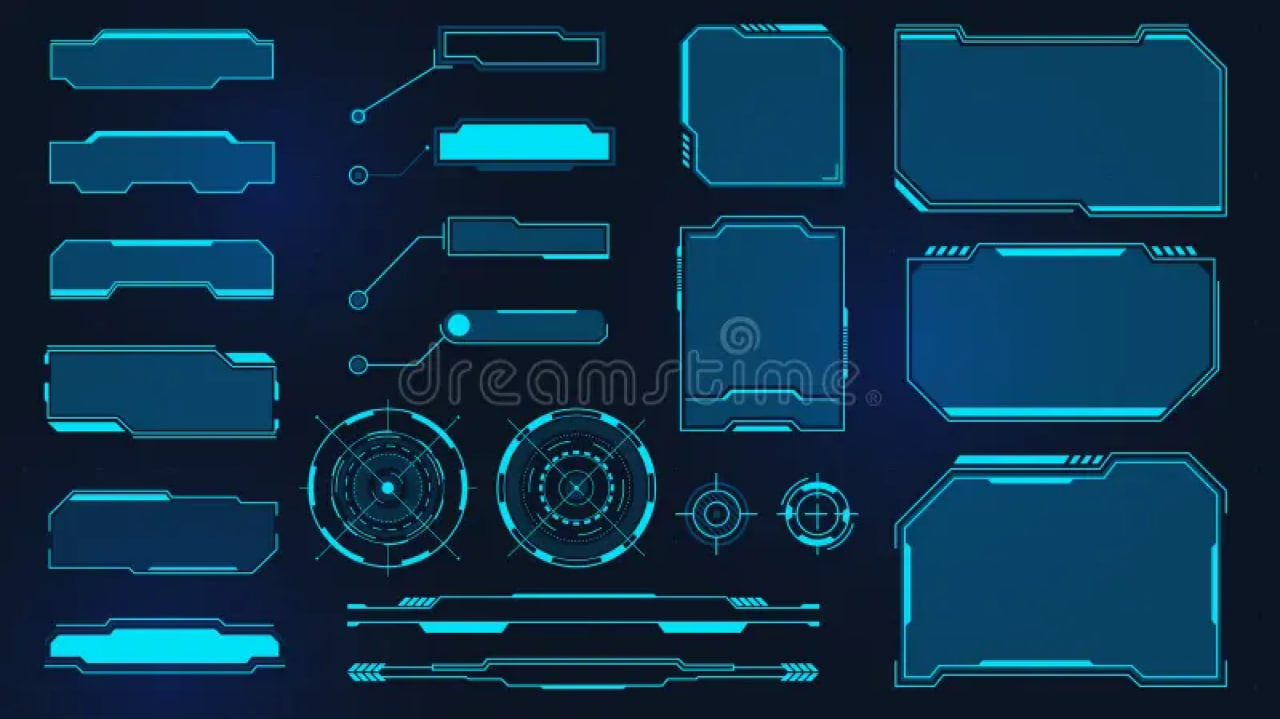
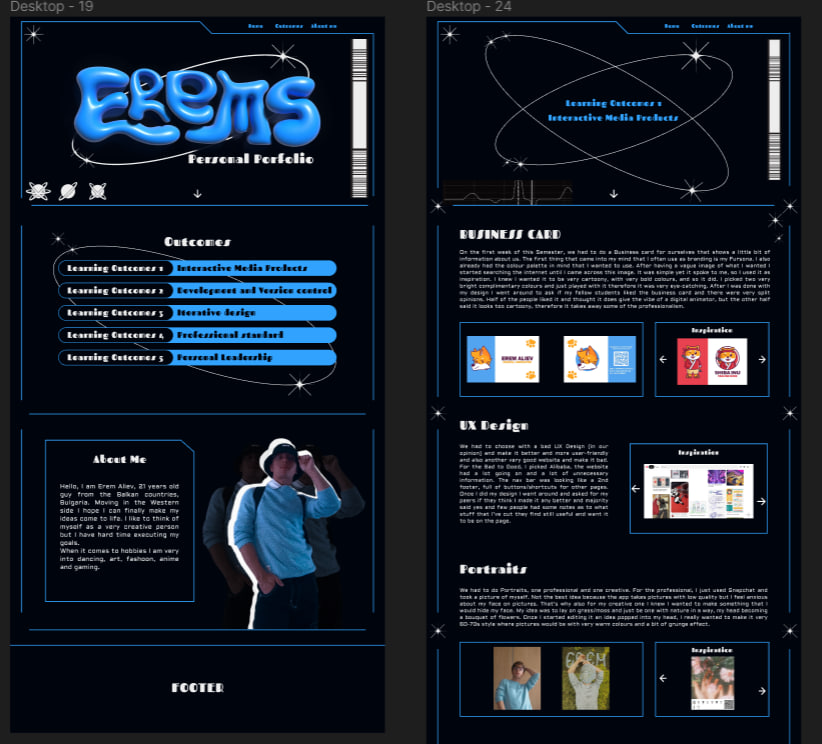
Inspiration:
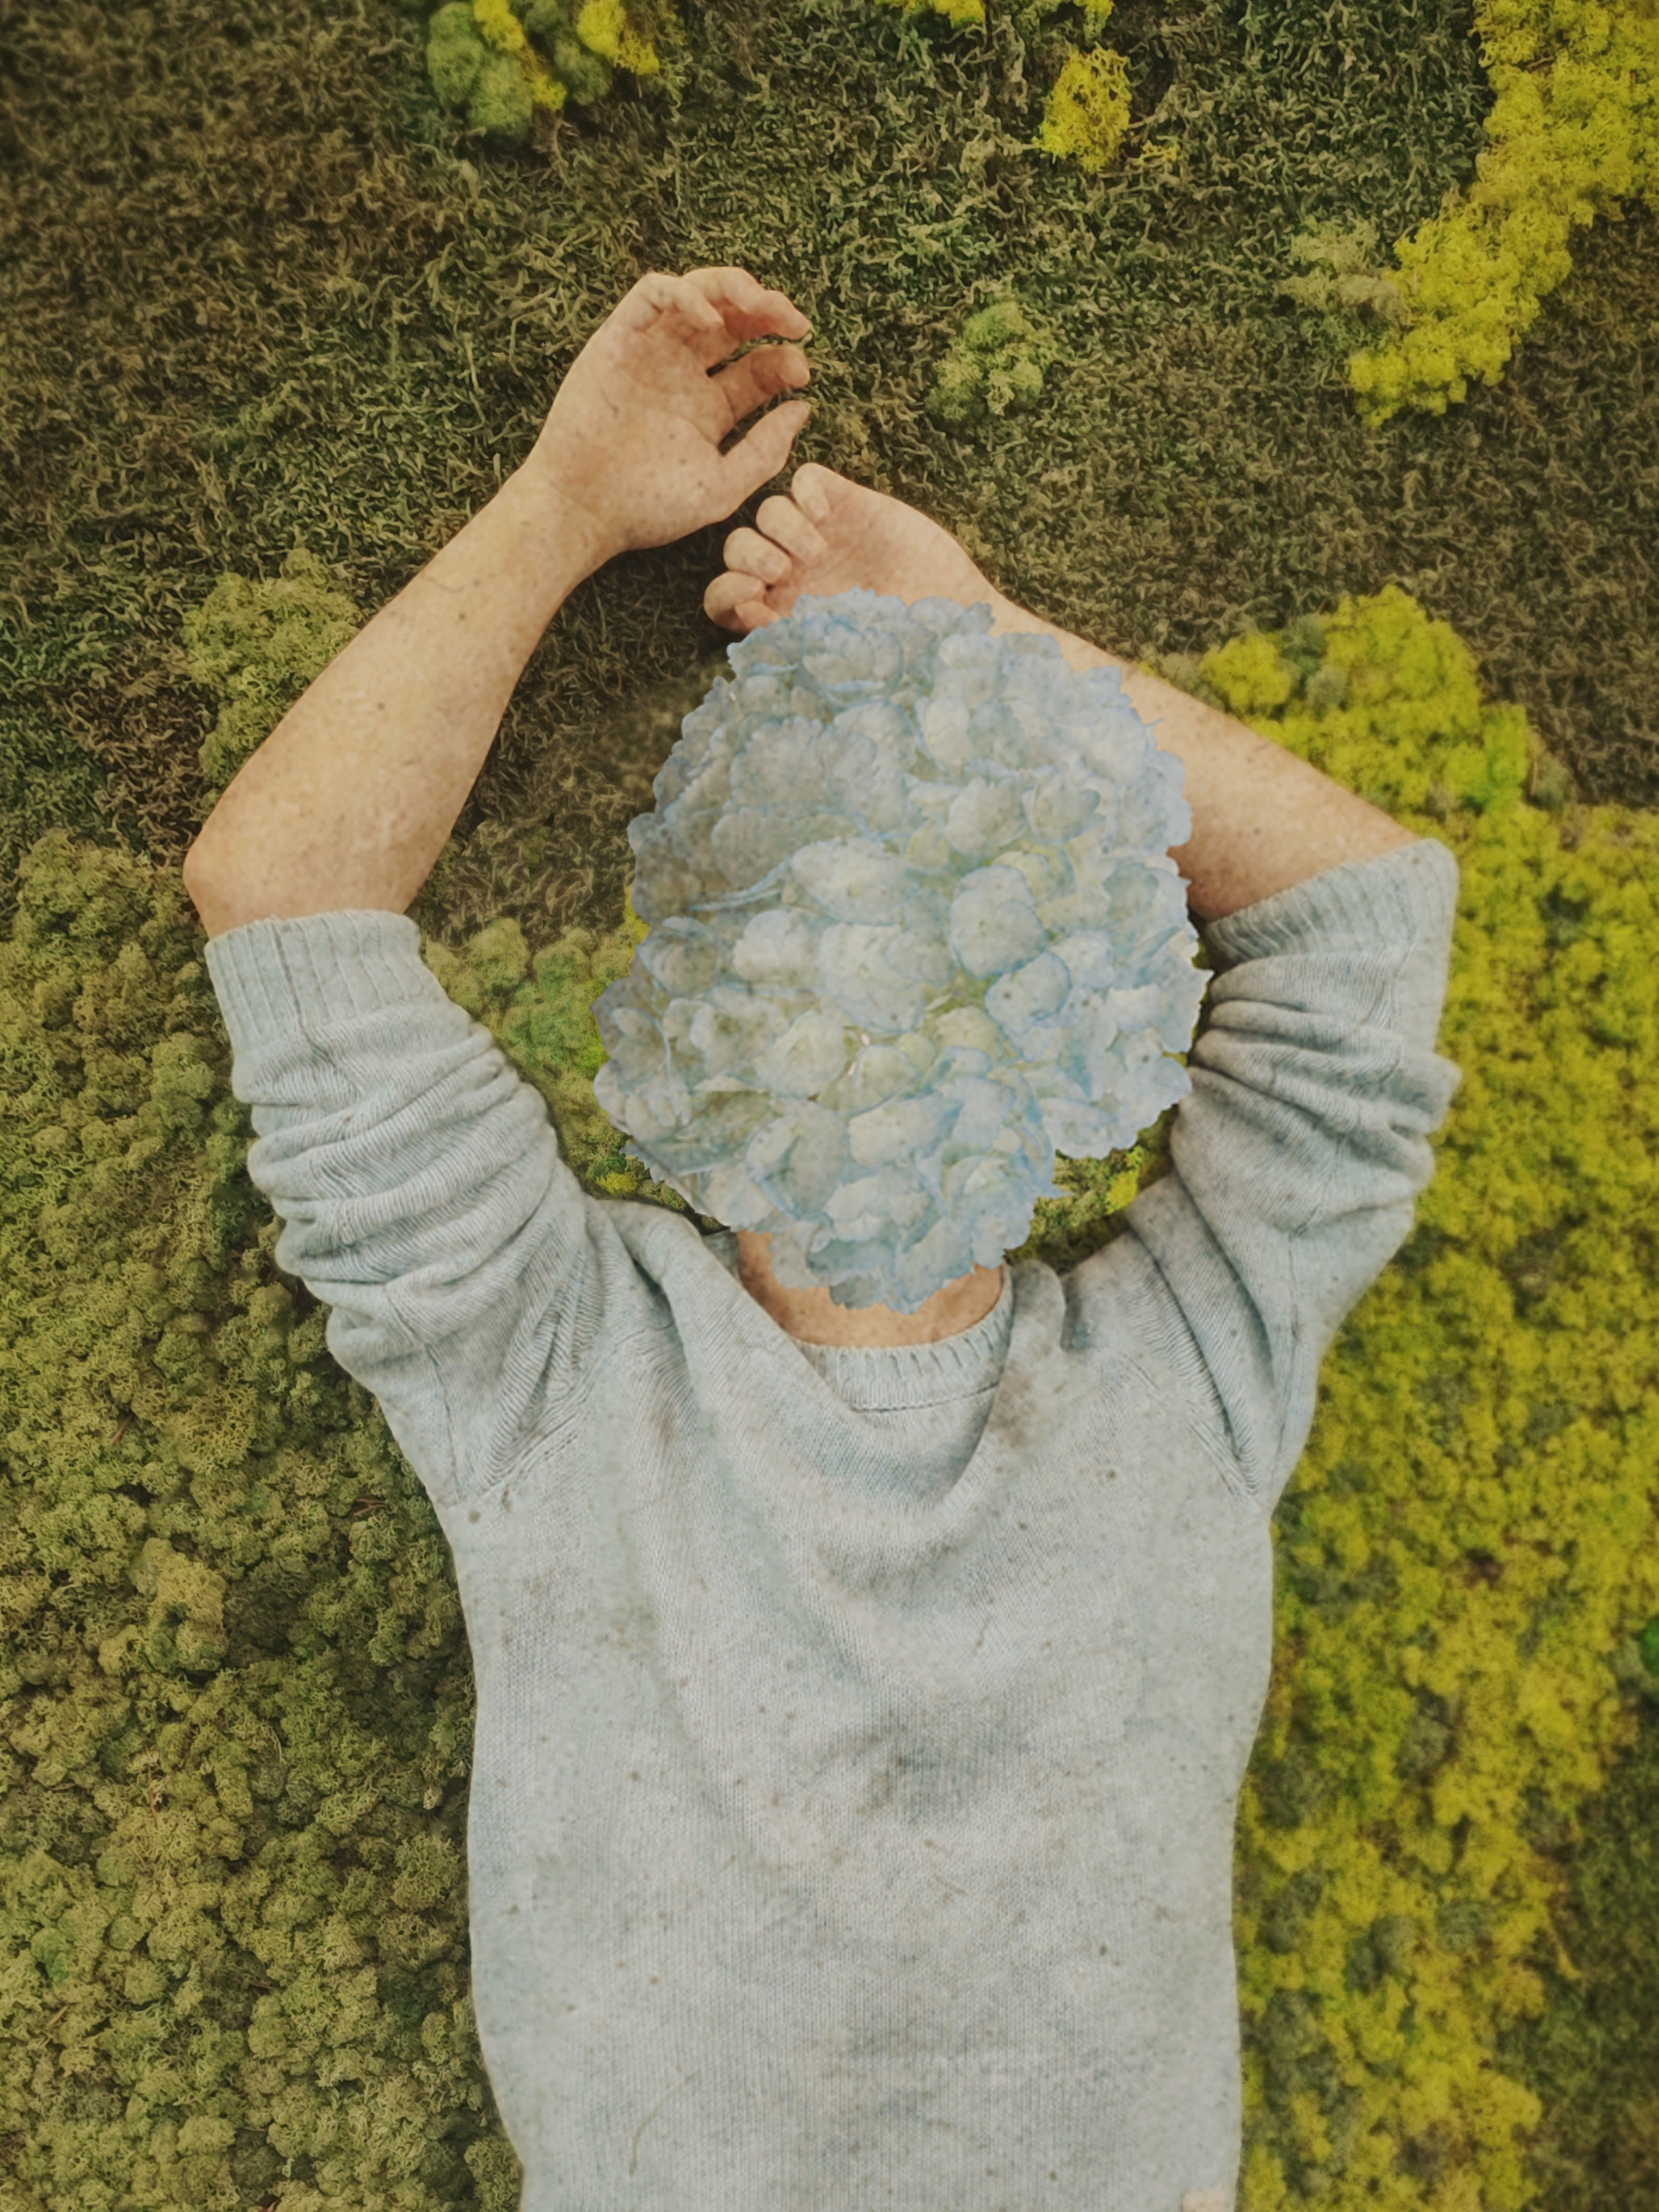
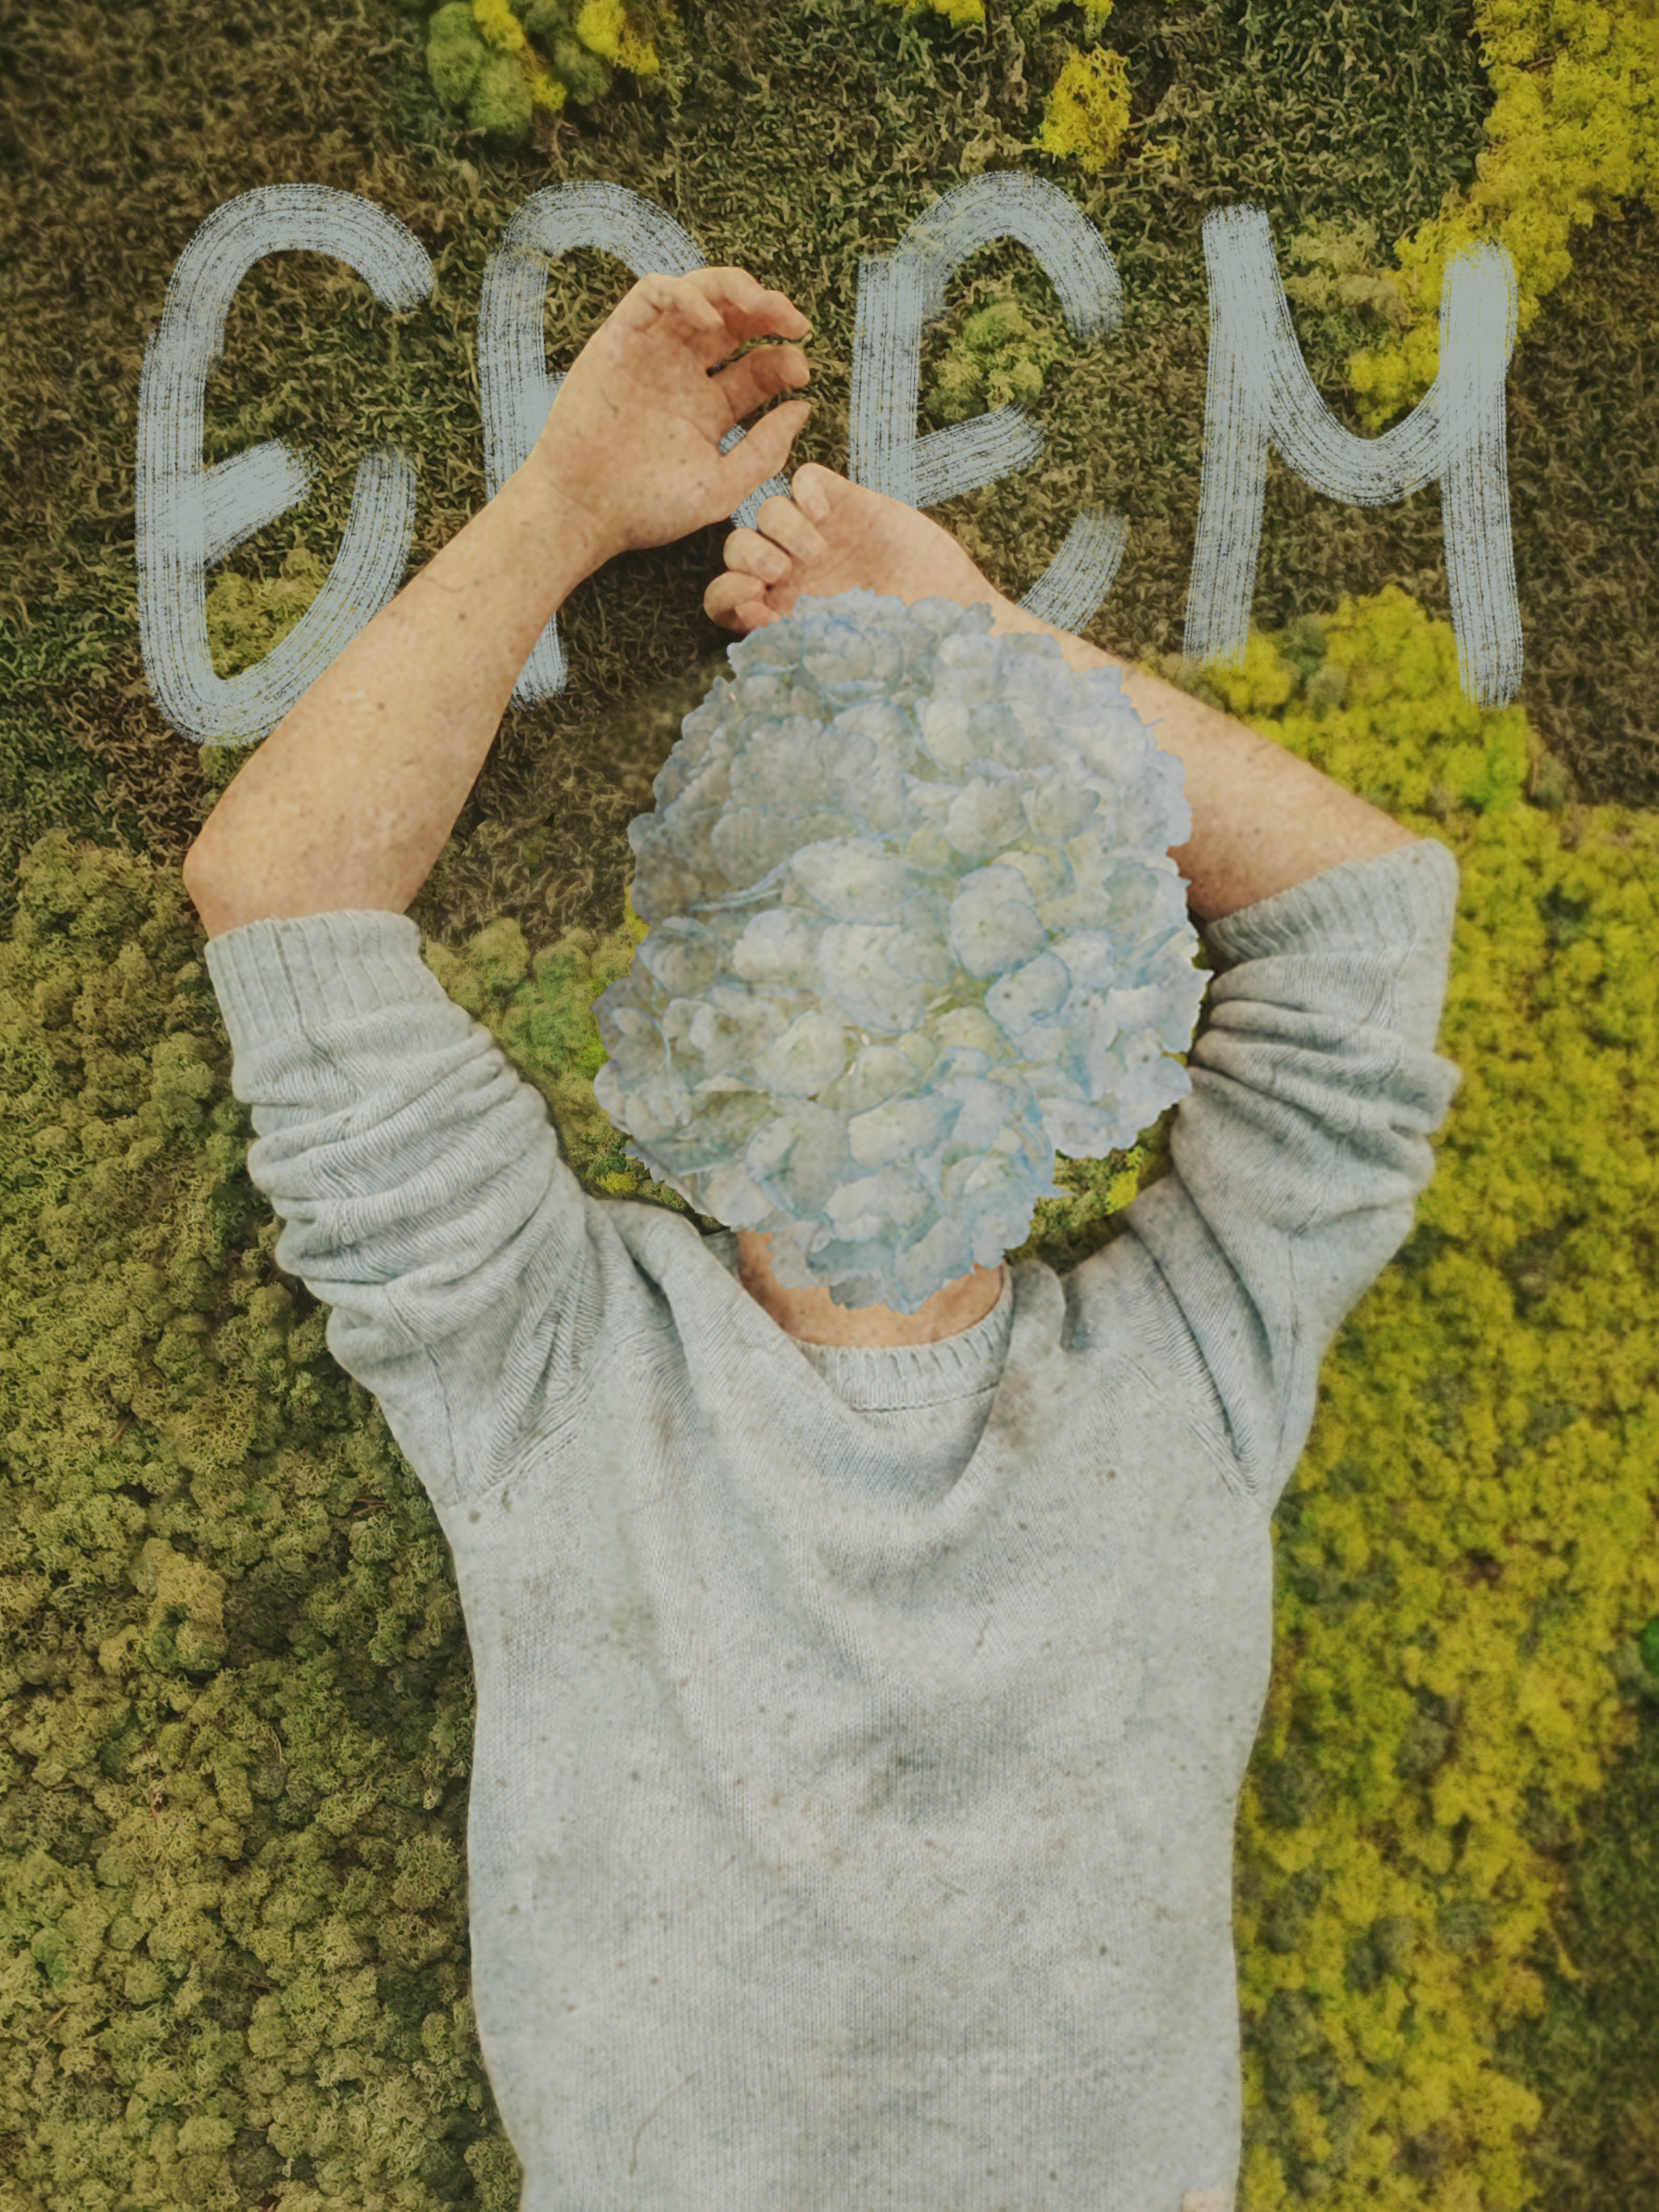
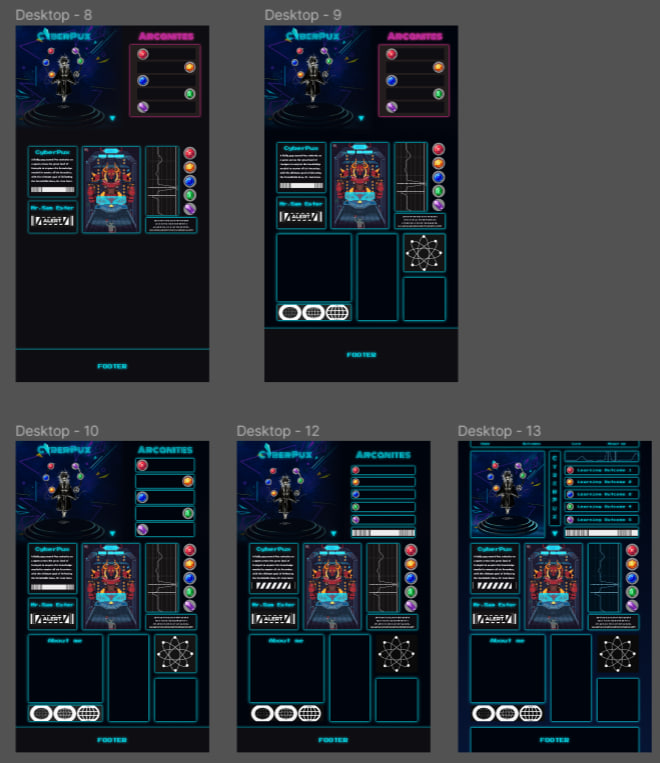
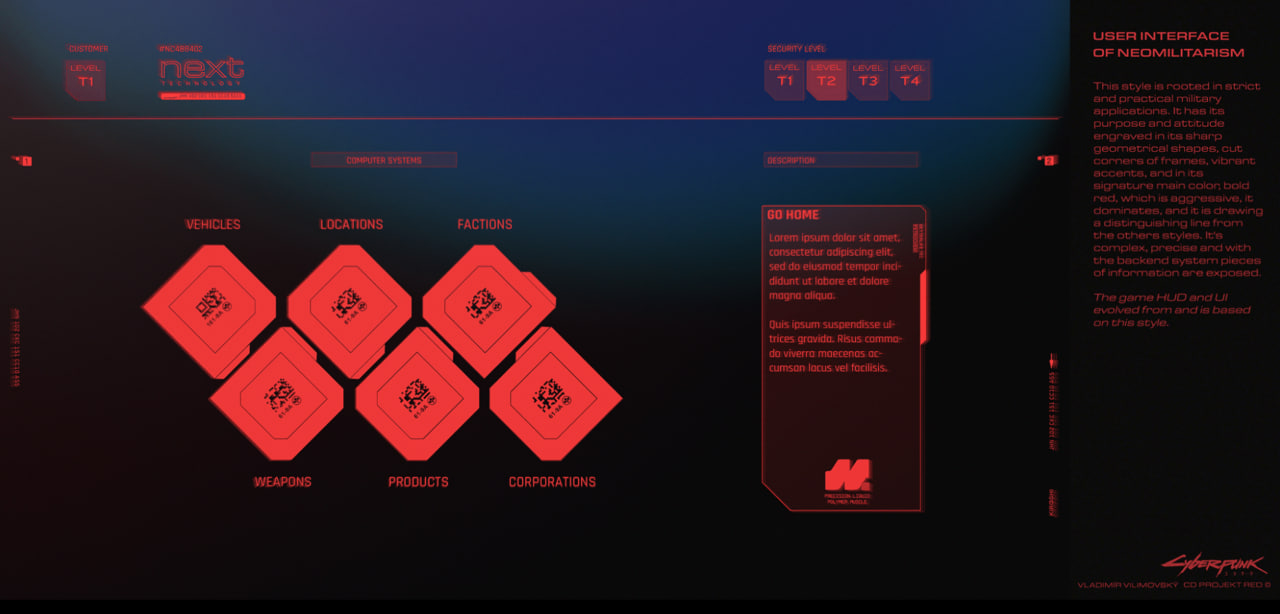
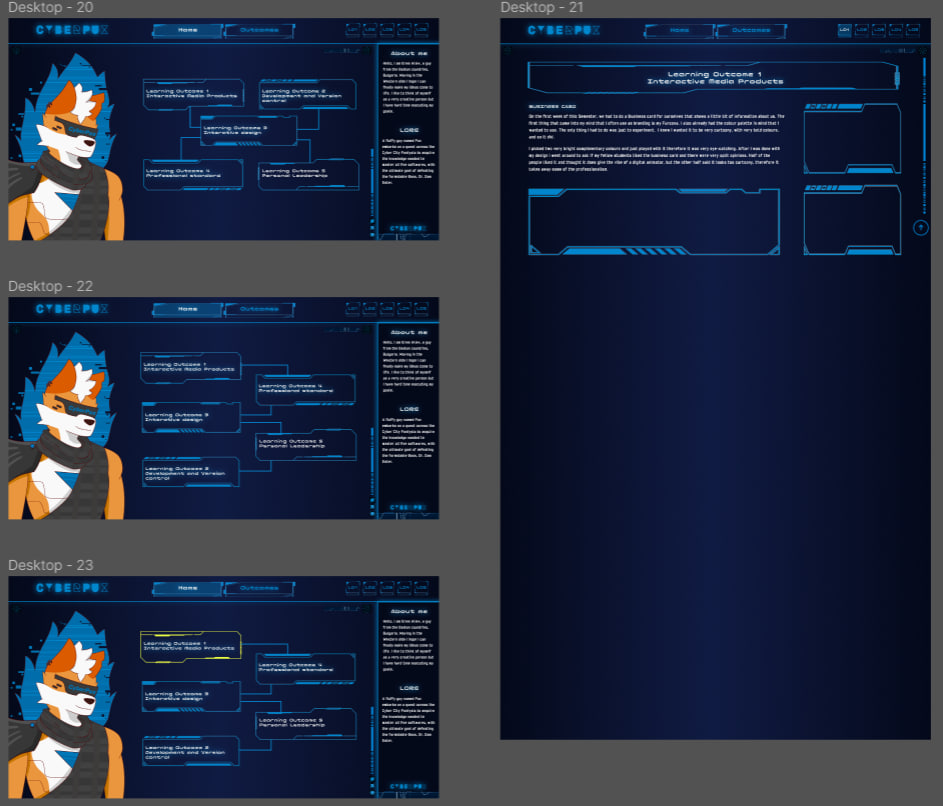
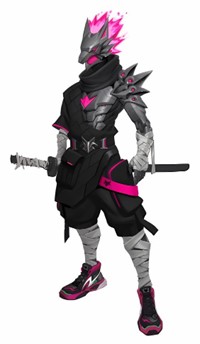
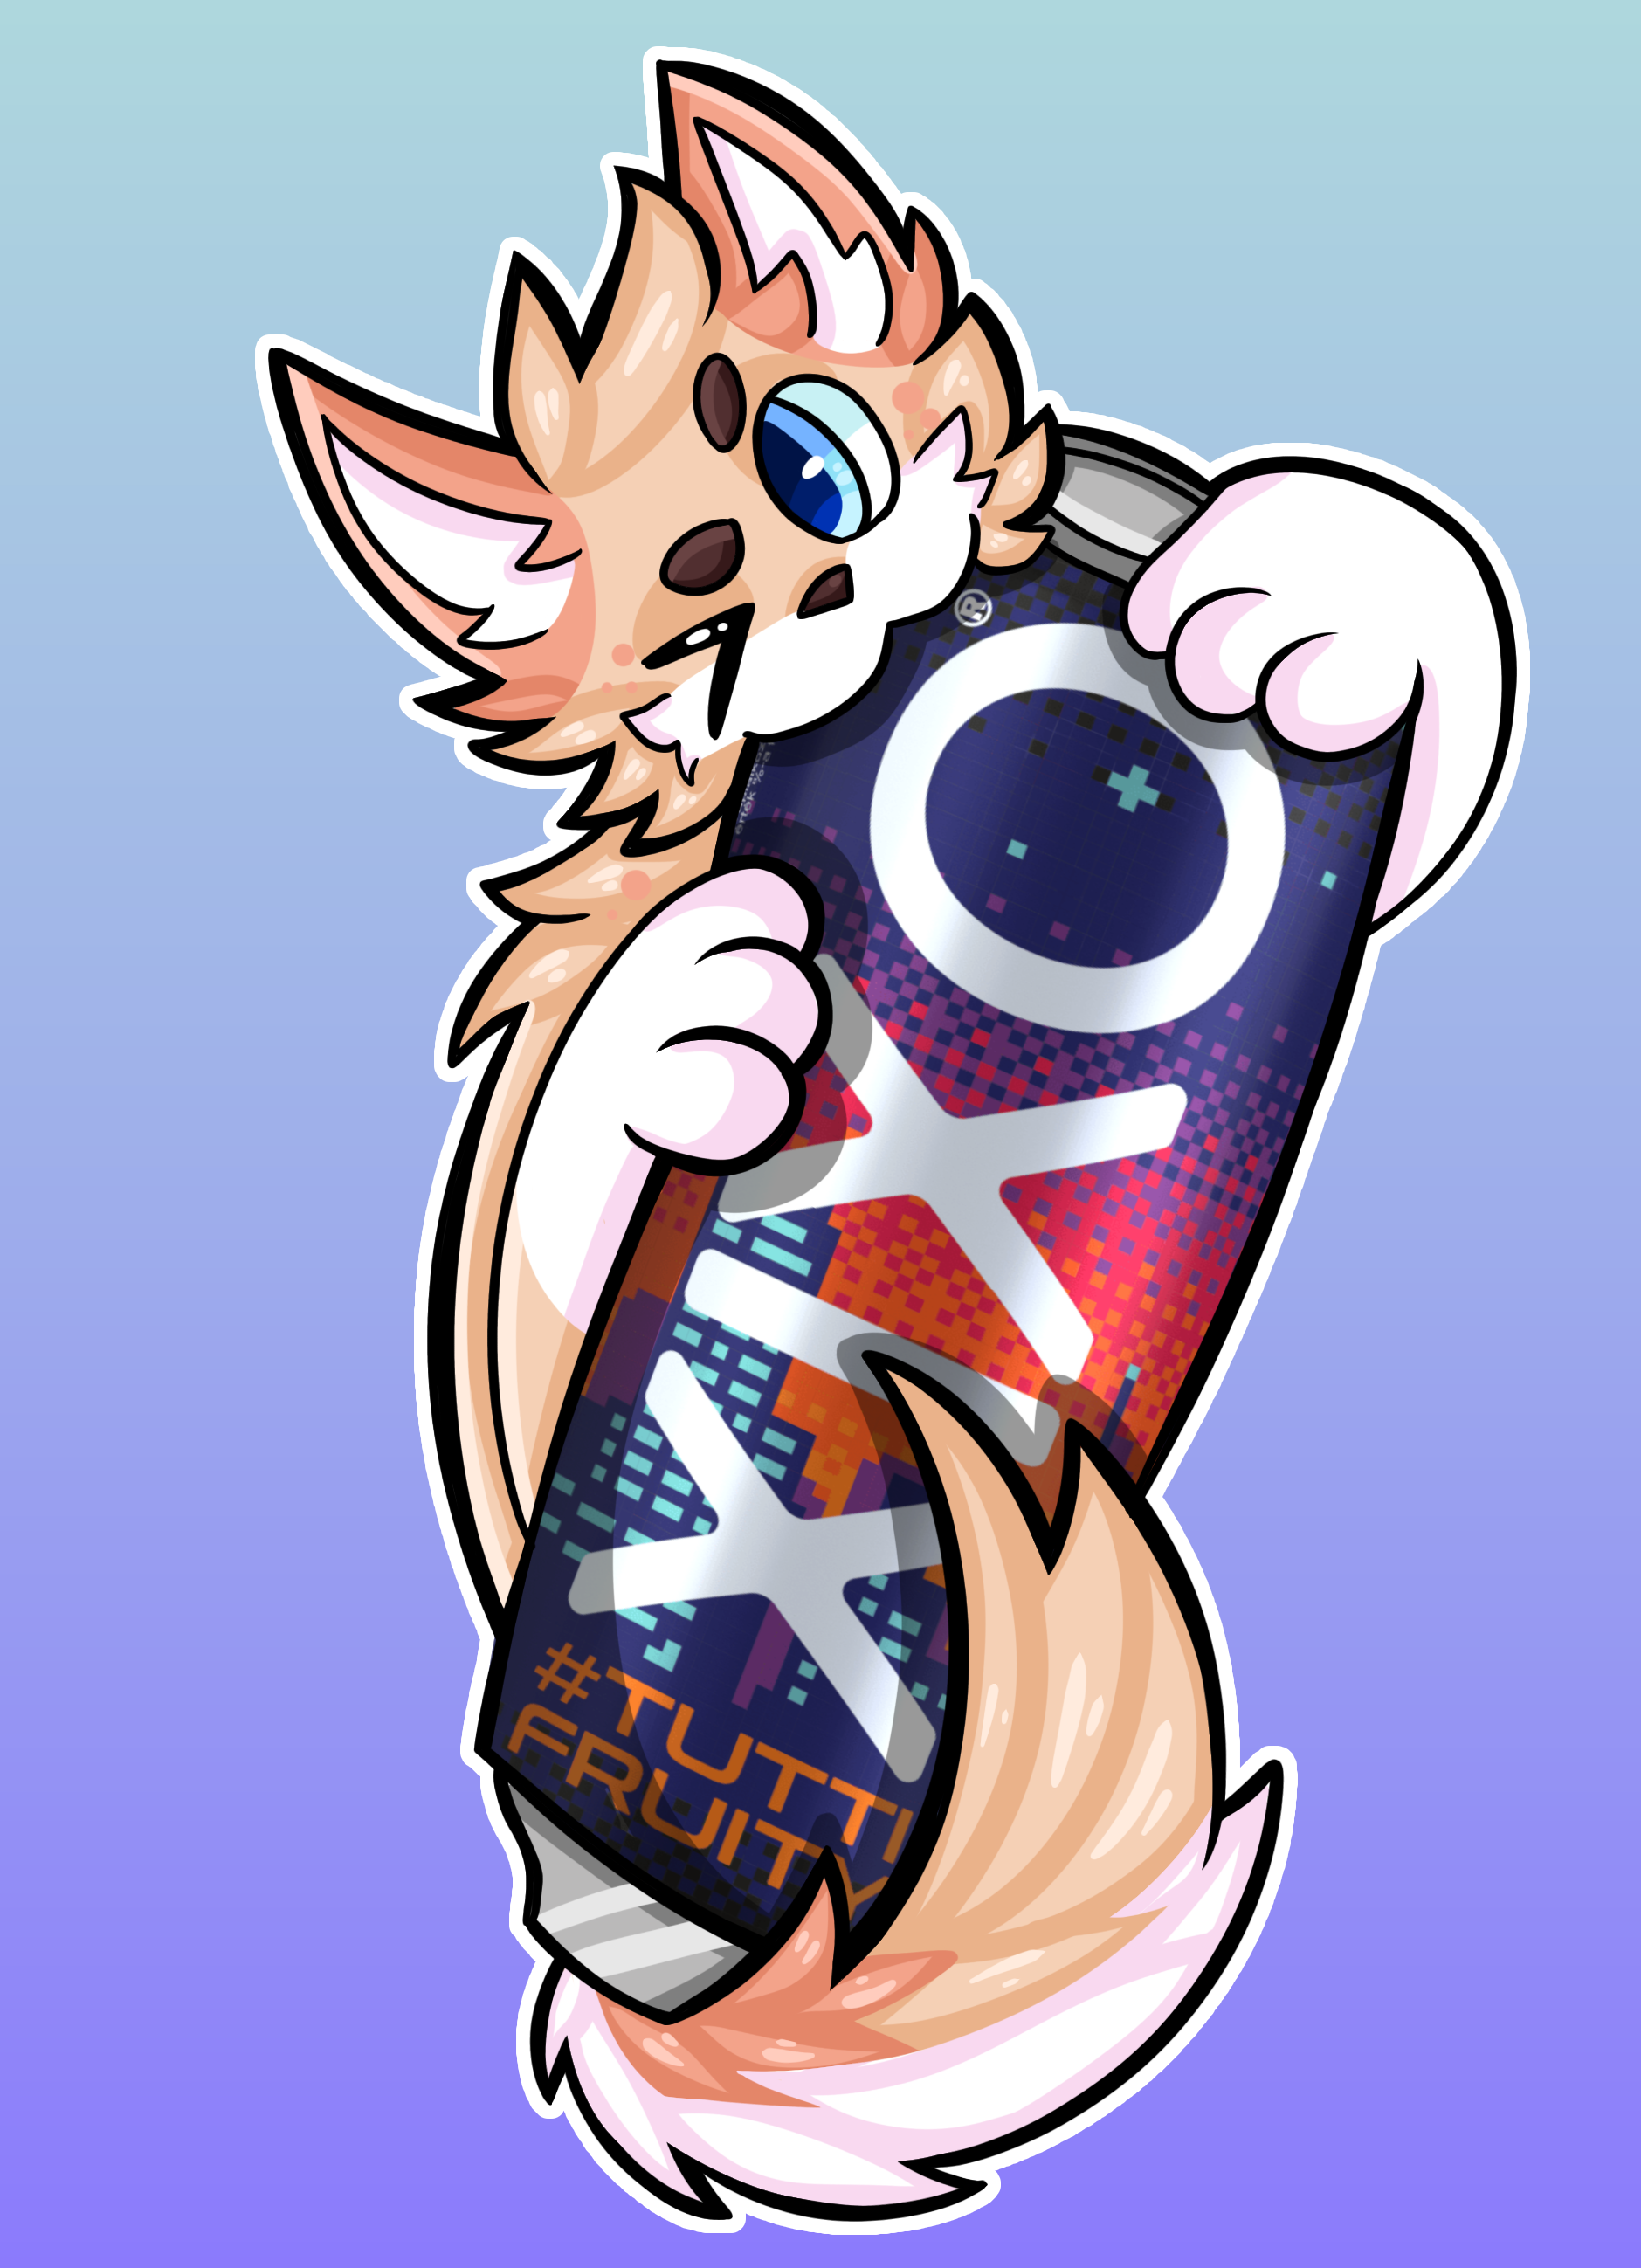
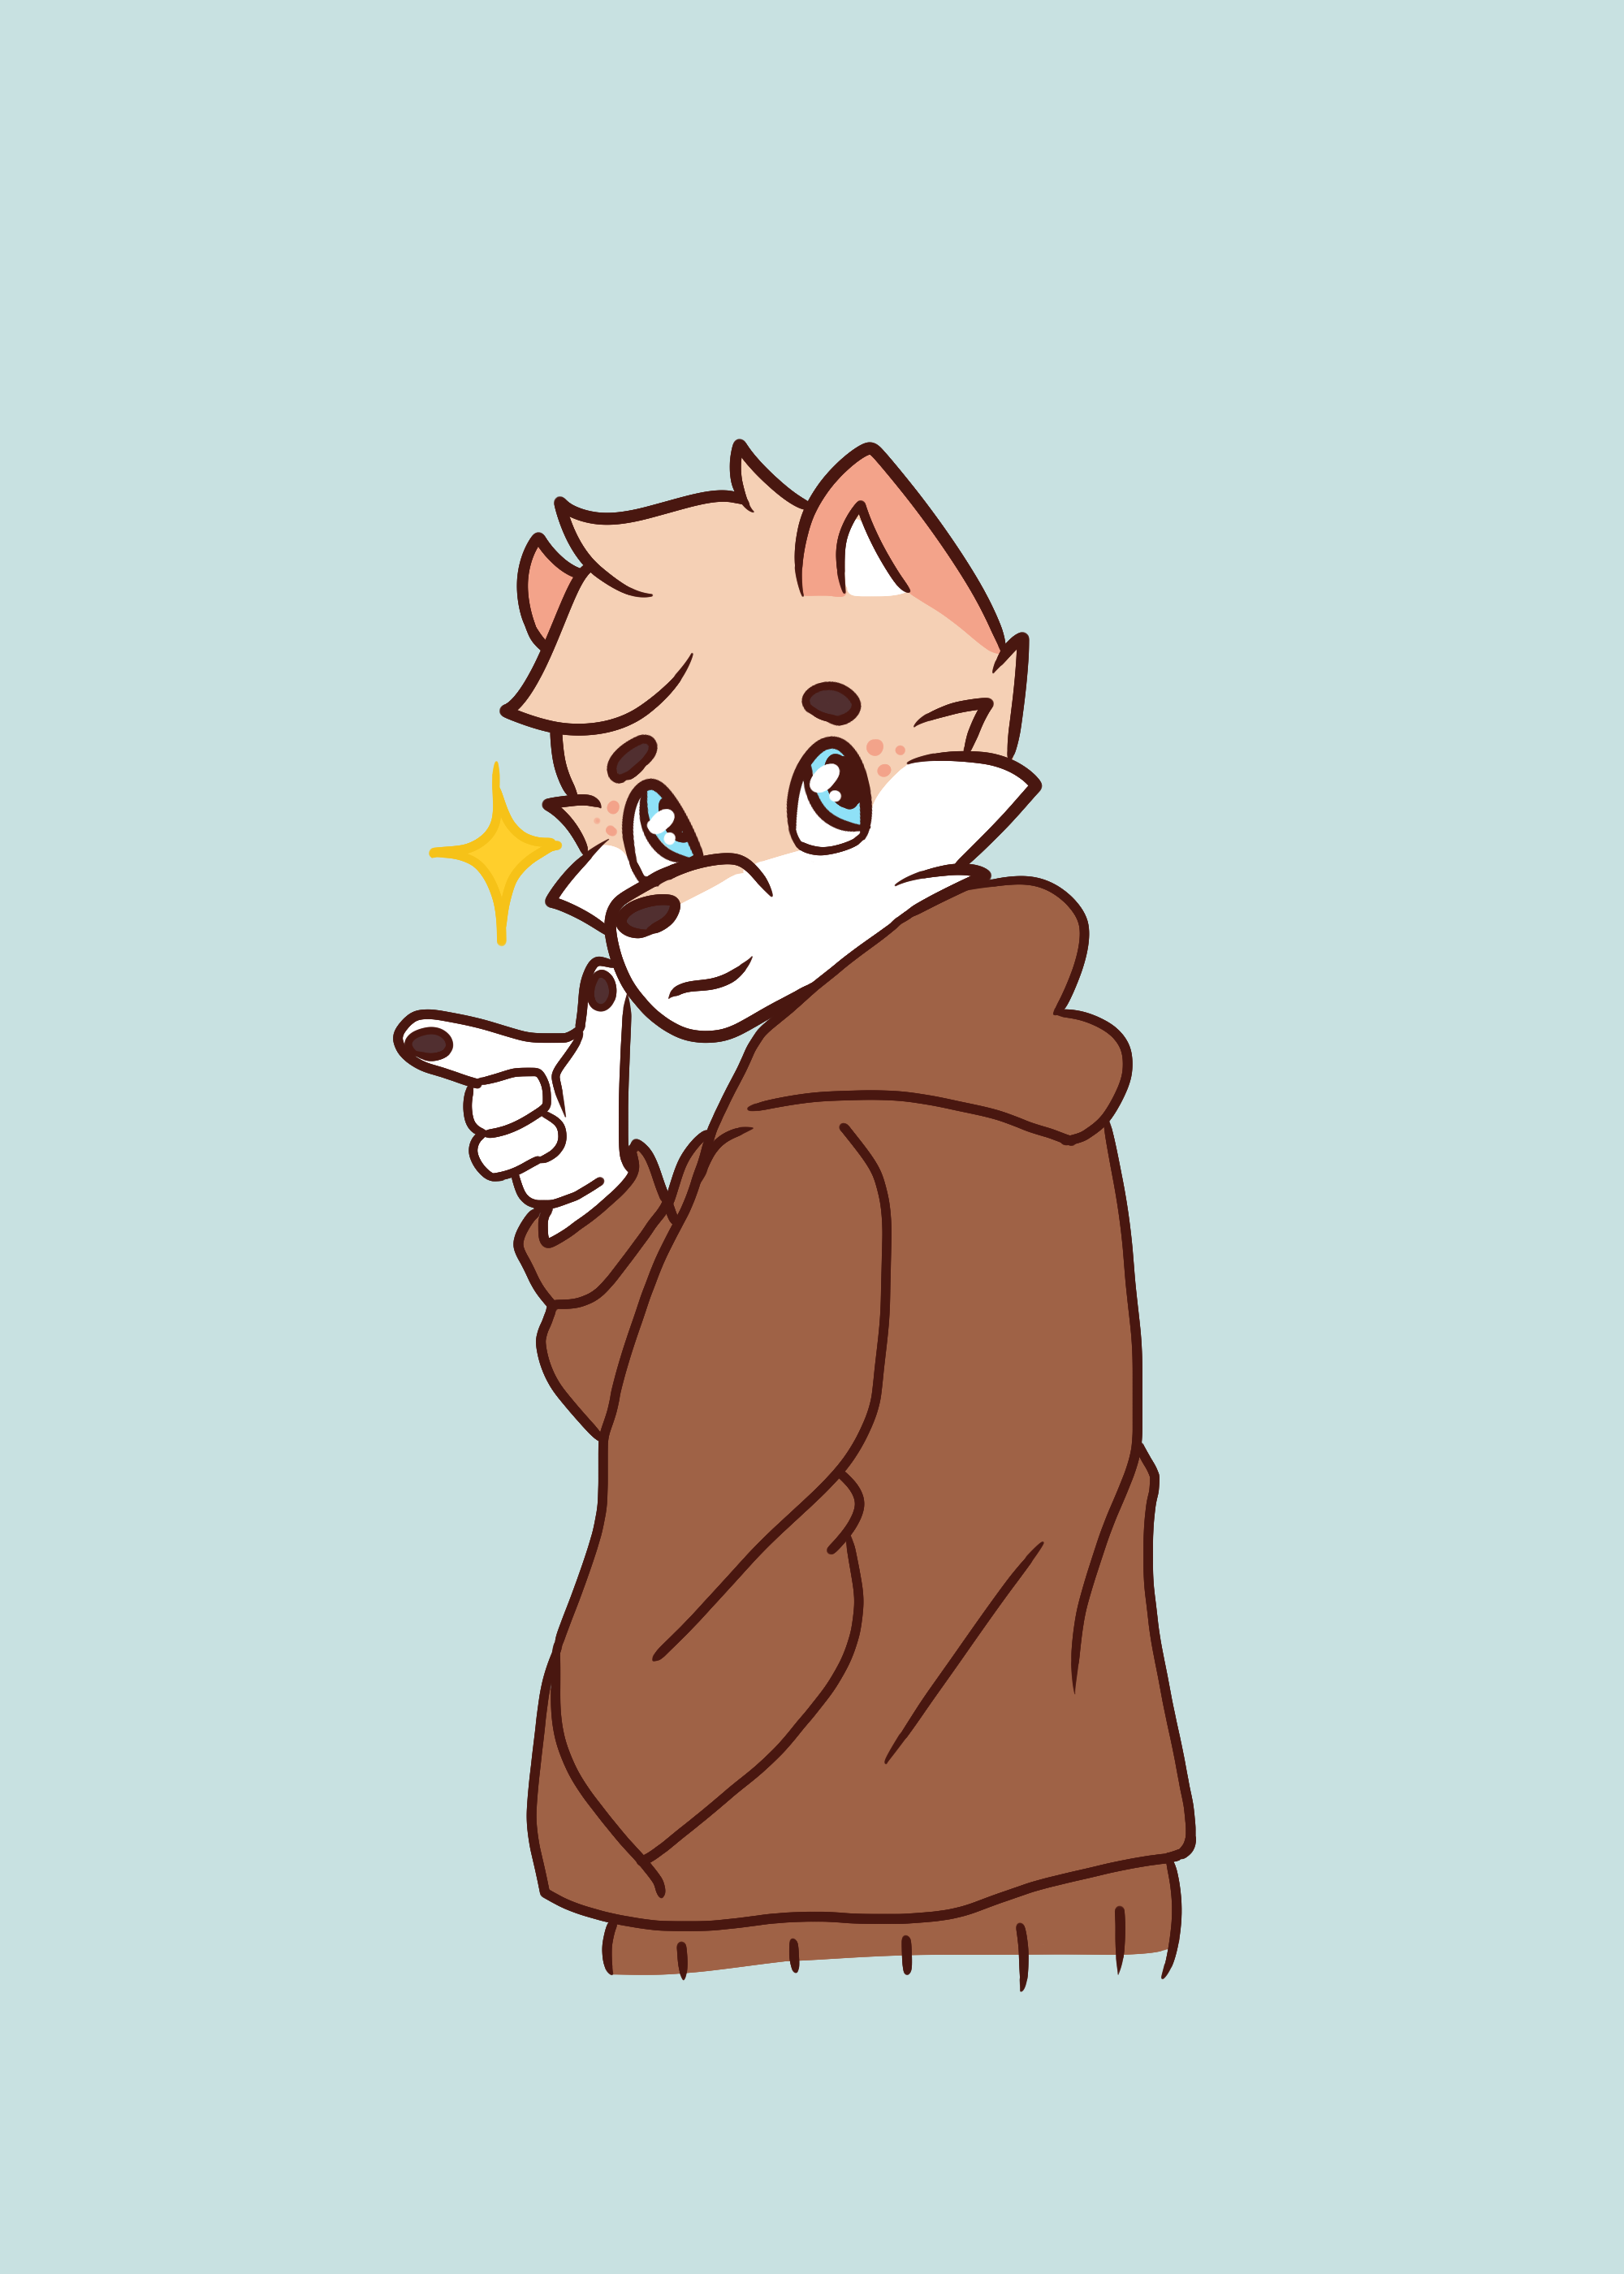
At the very start I already kinda knew what I wanted to I went in to look if there is already something similar I had in mind just to clear up my vision a bit. All I knew for sure is that I wanted to have the colour blue in there, as well as my own character I have created named "Pux".

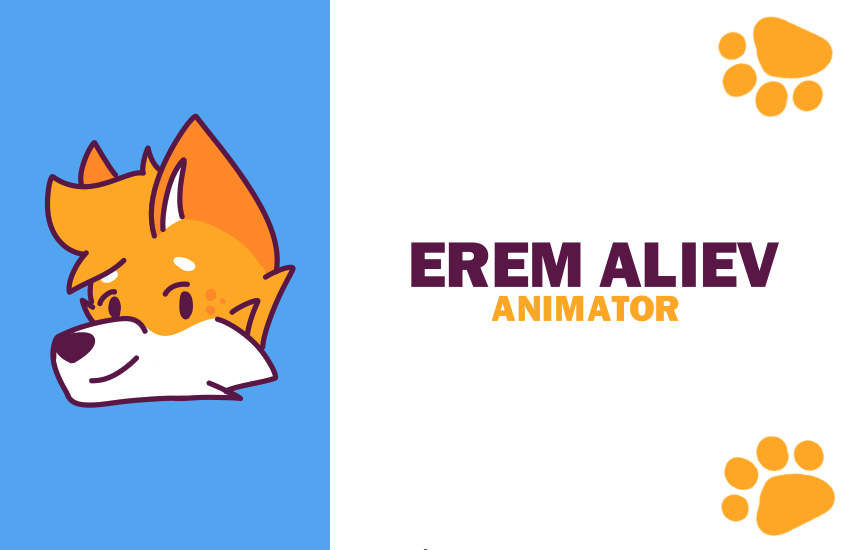
Almost finished card:
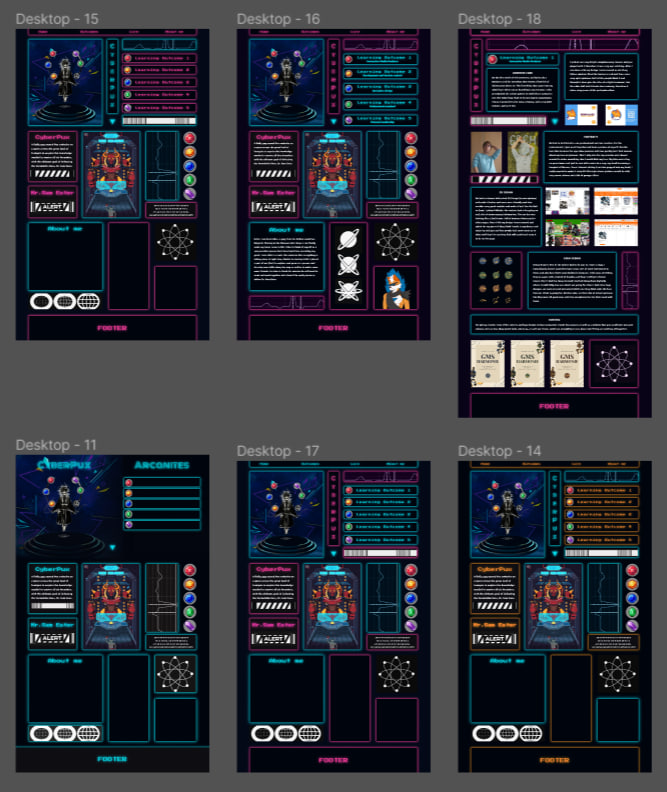
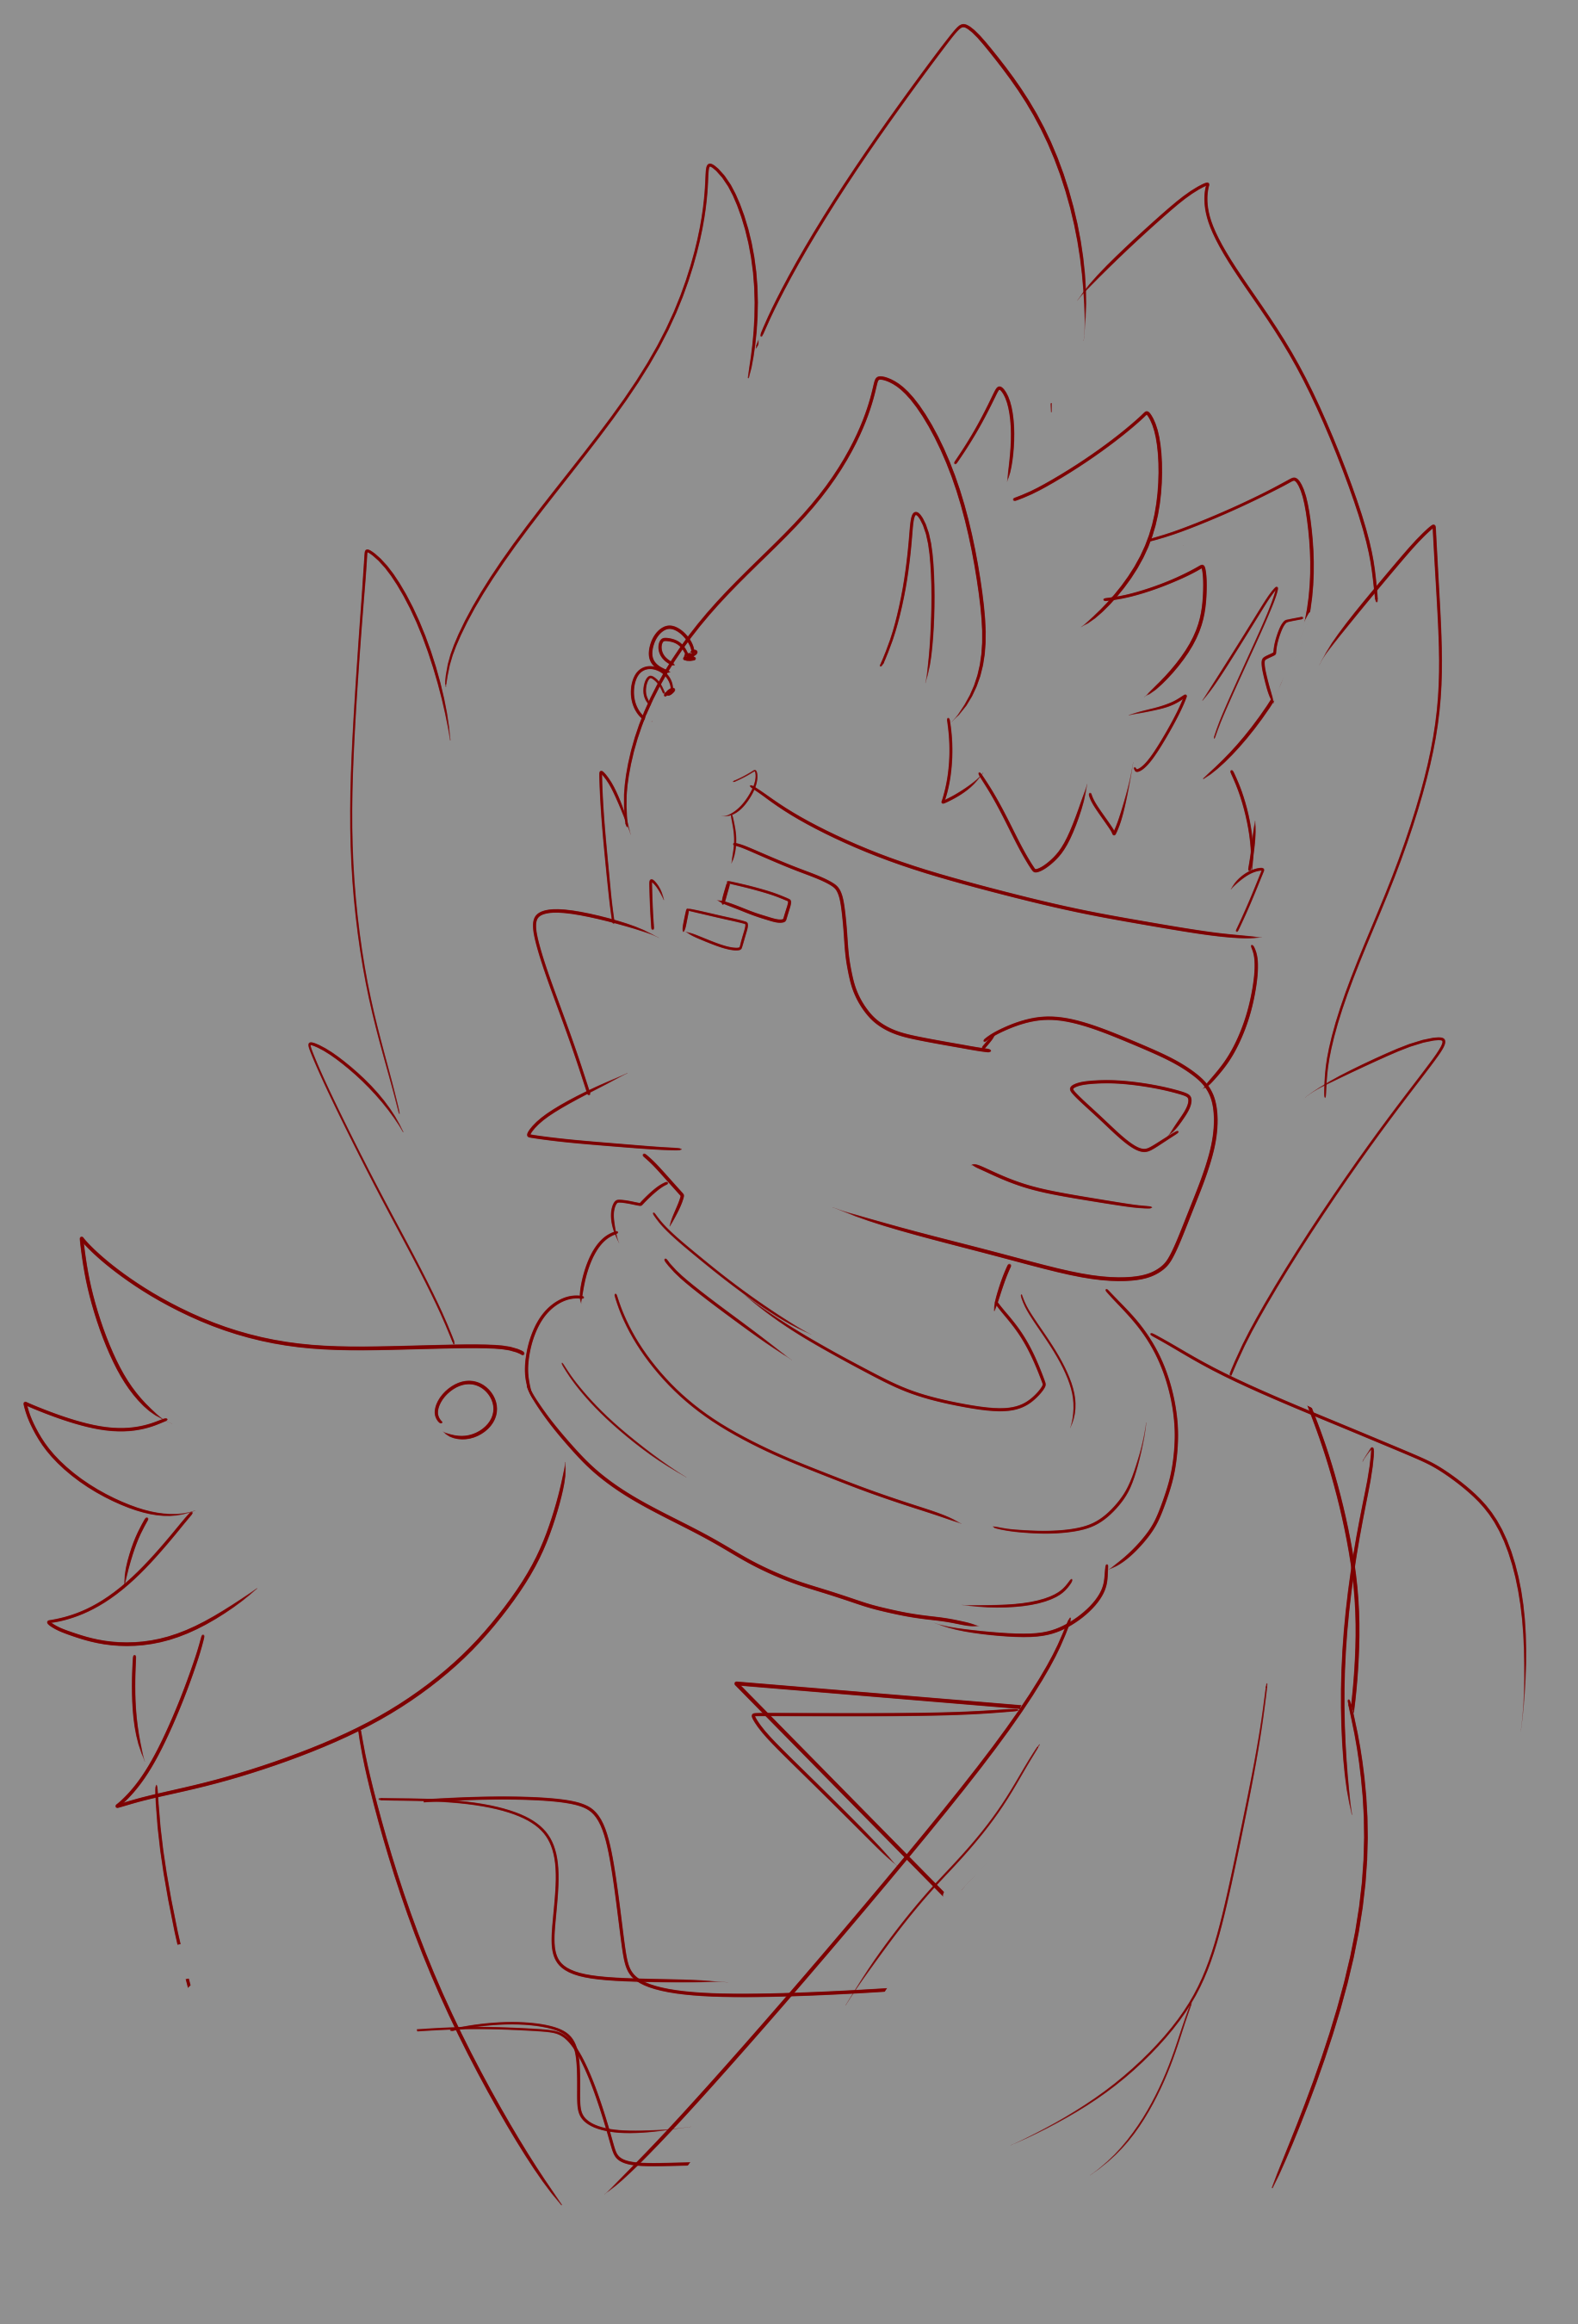
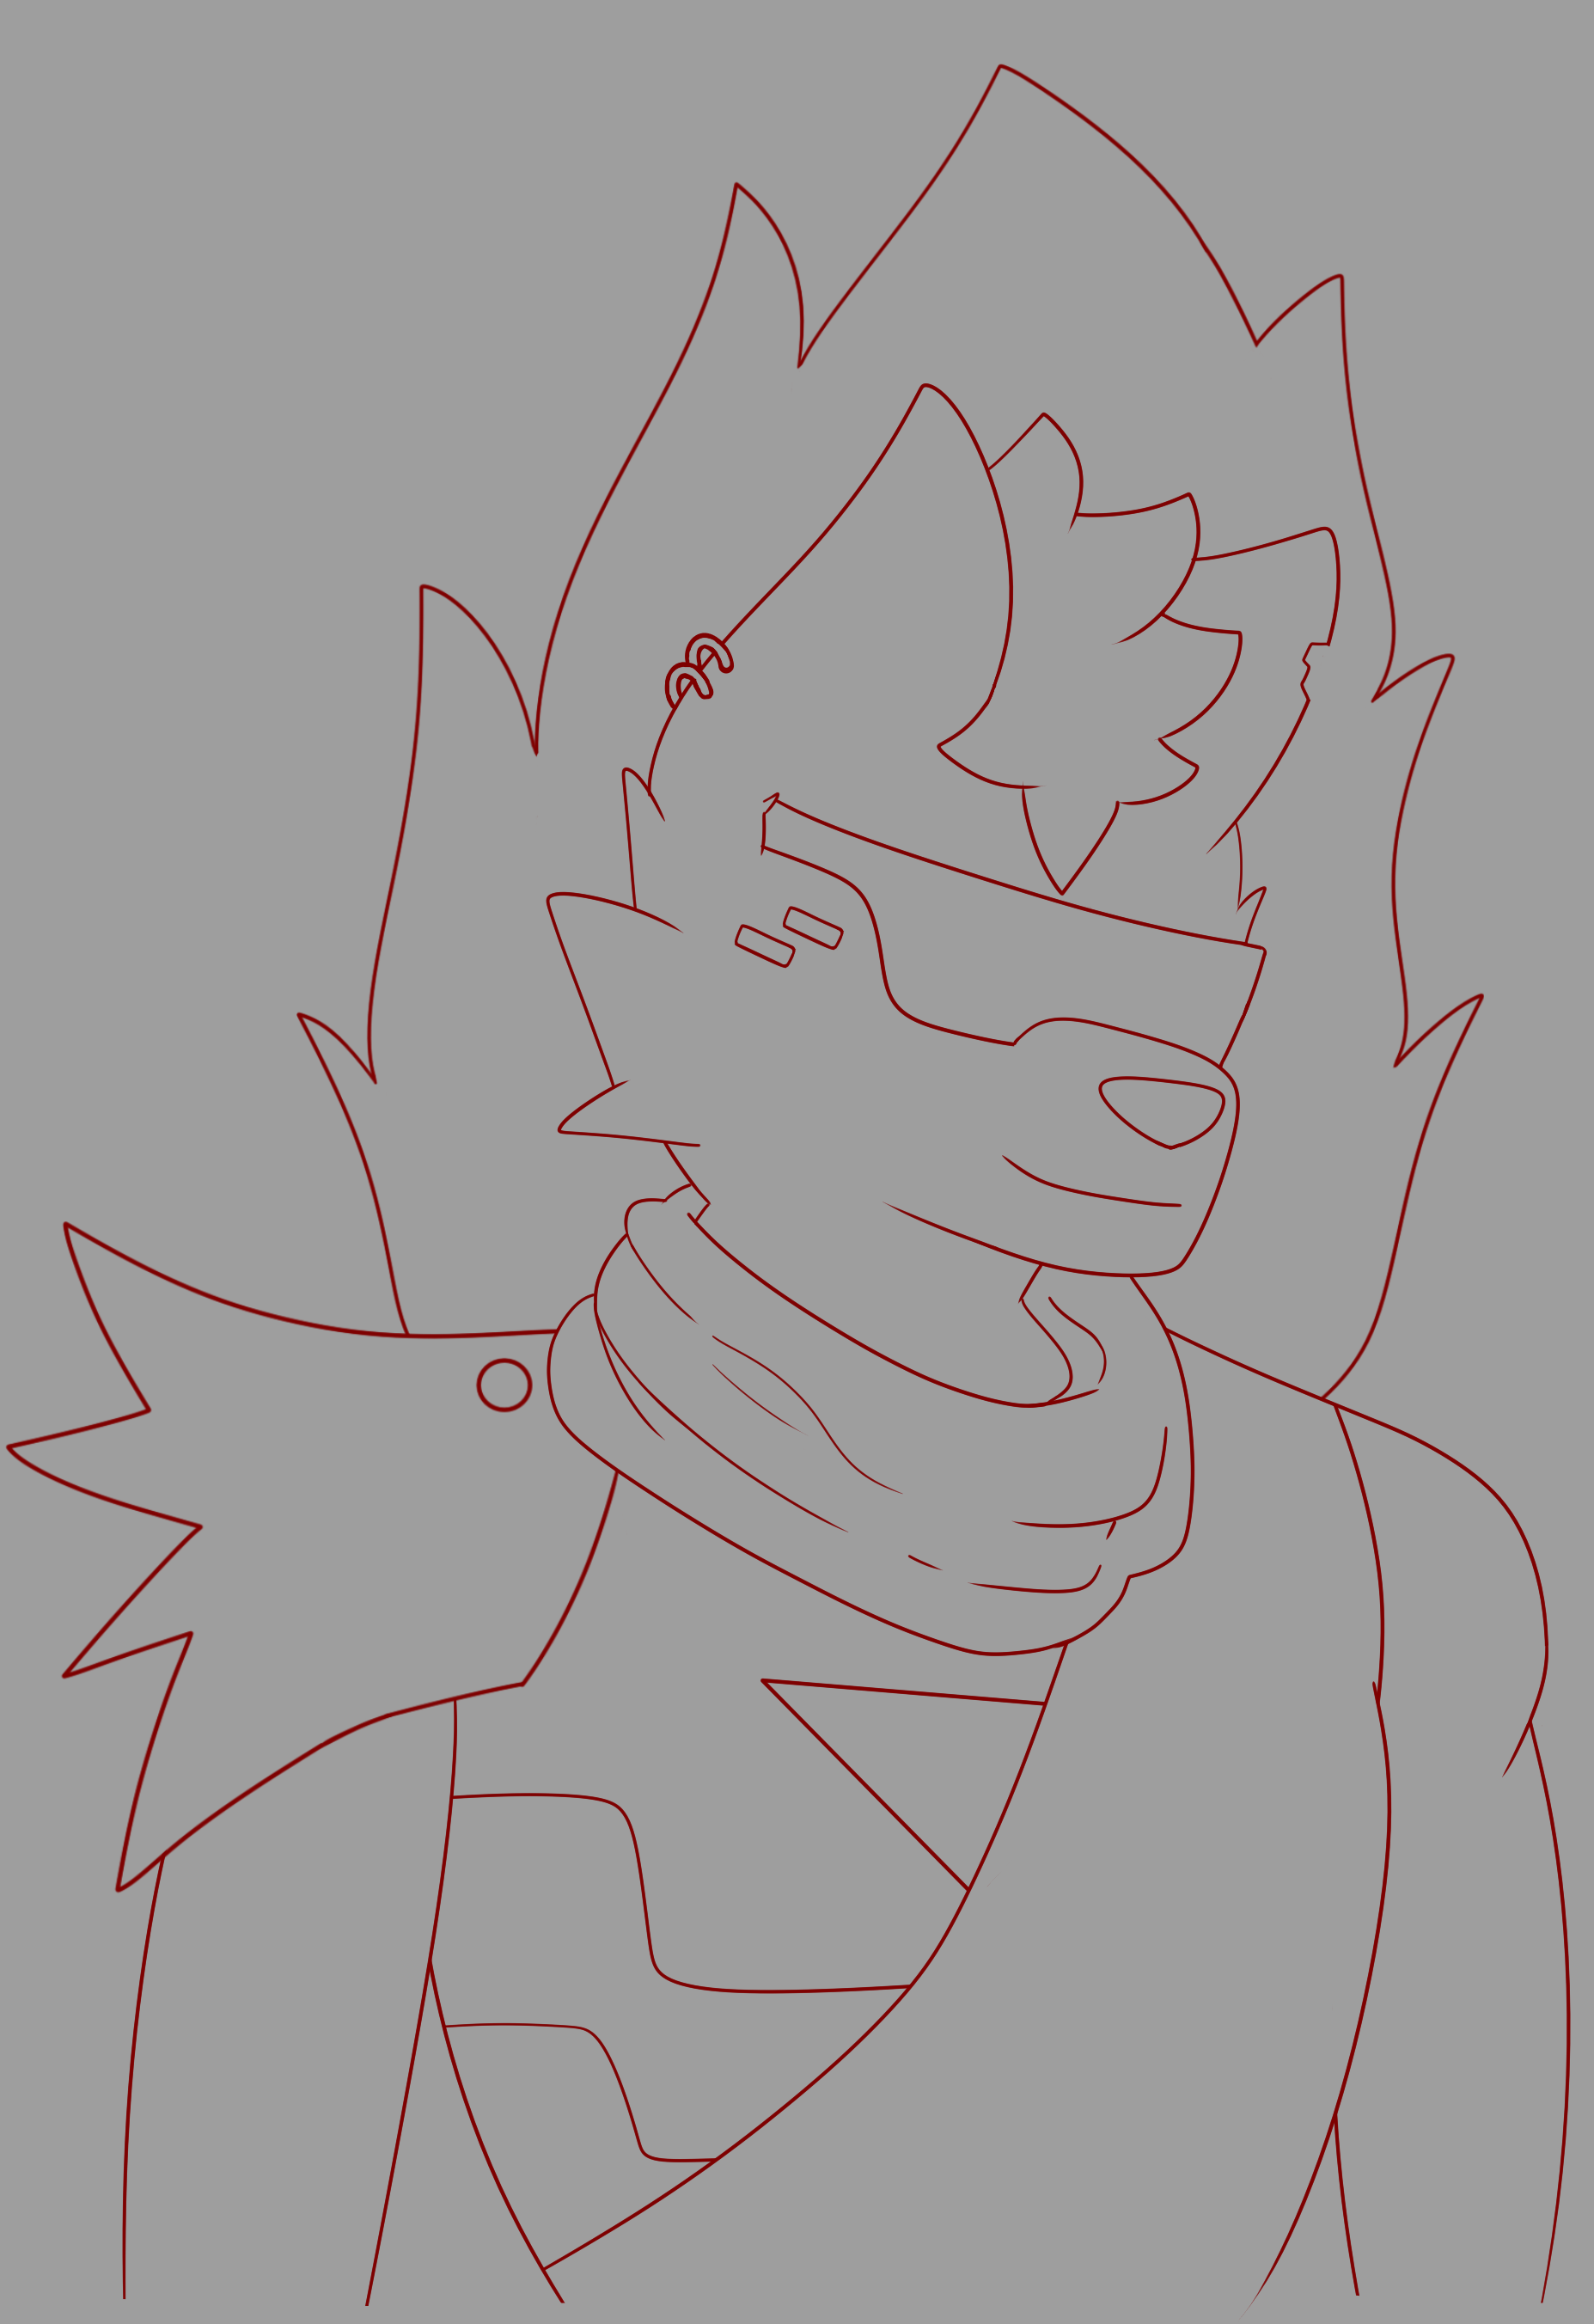
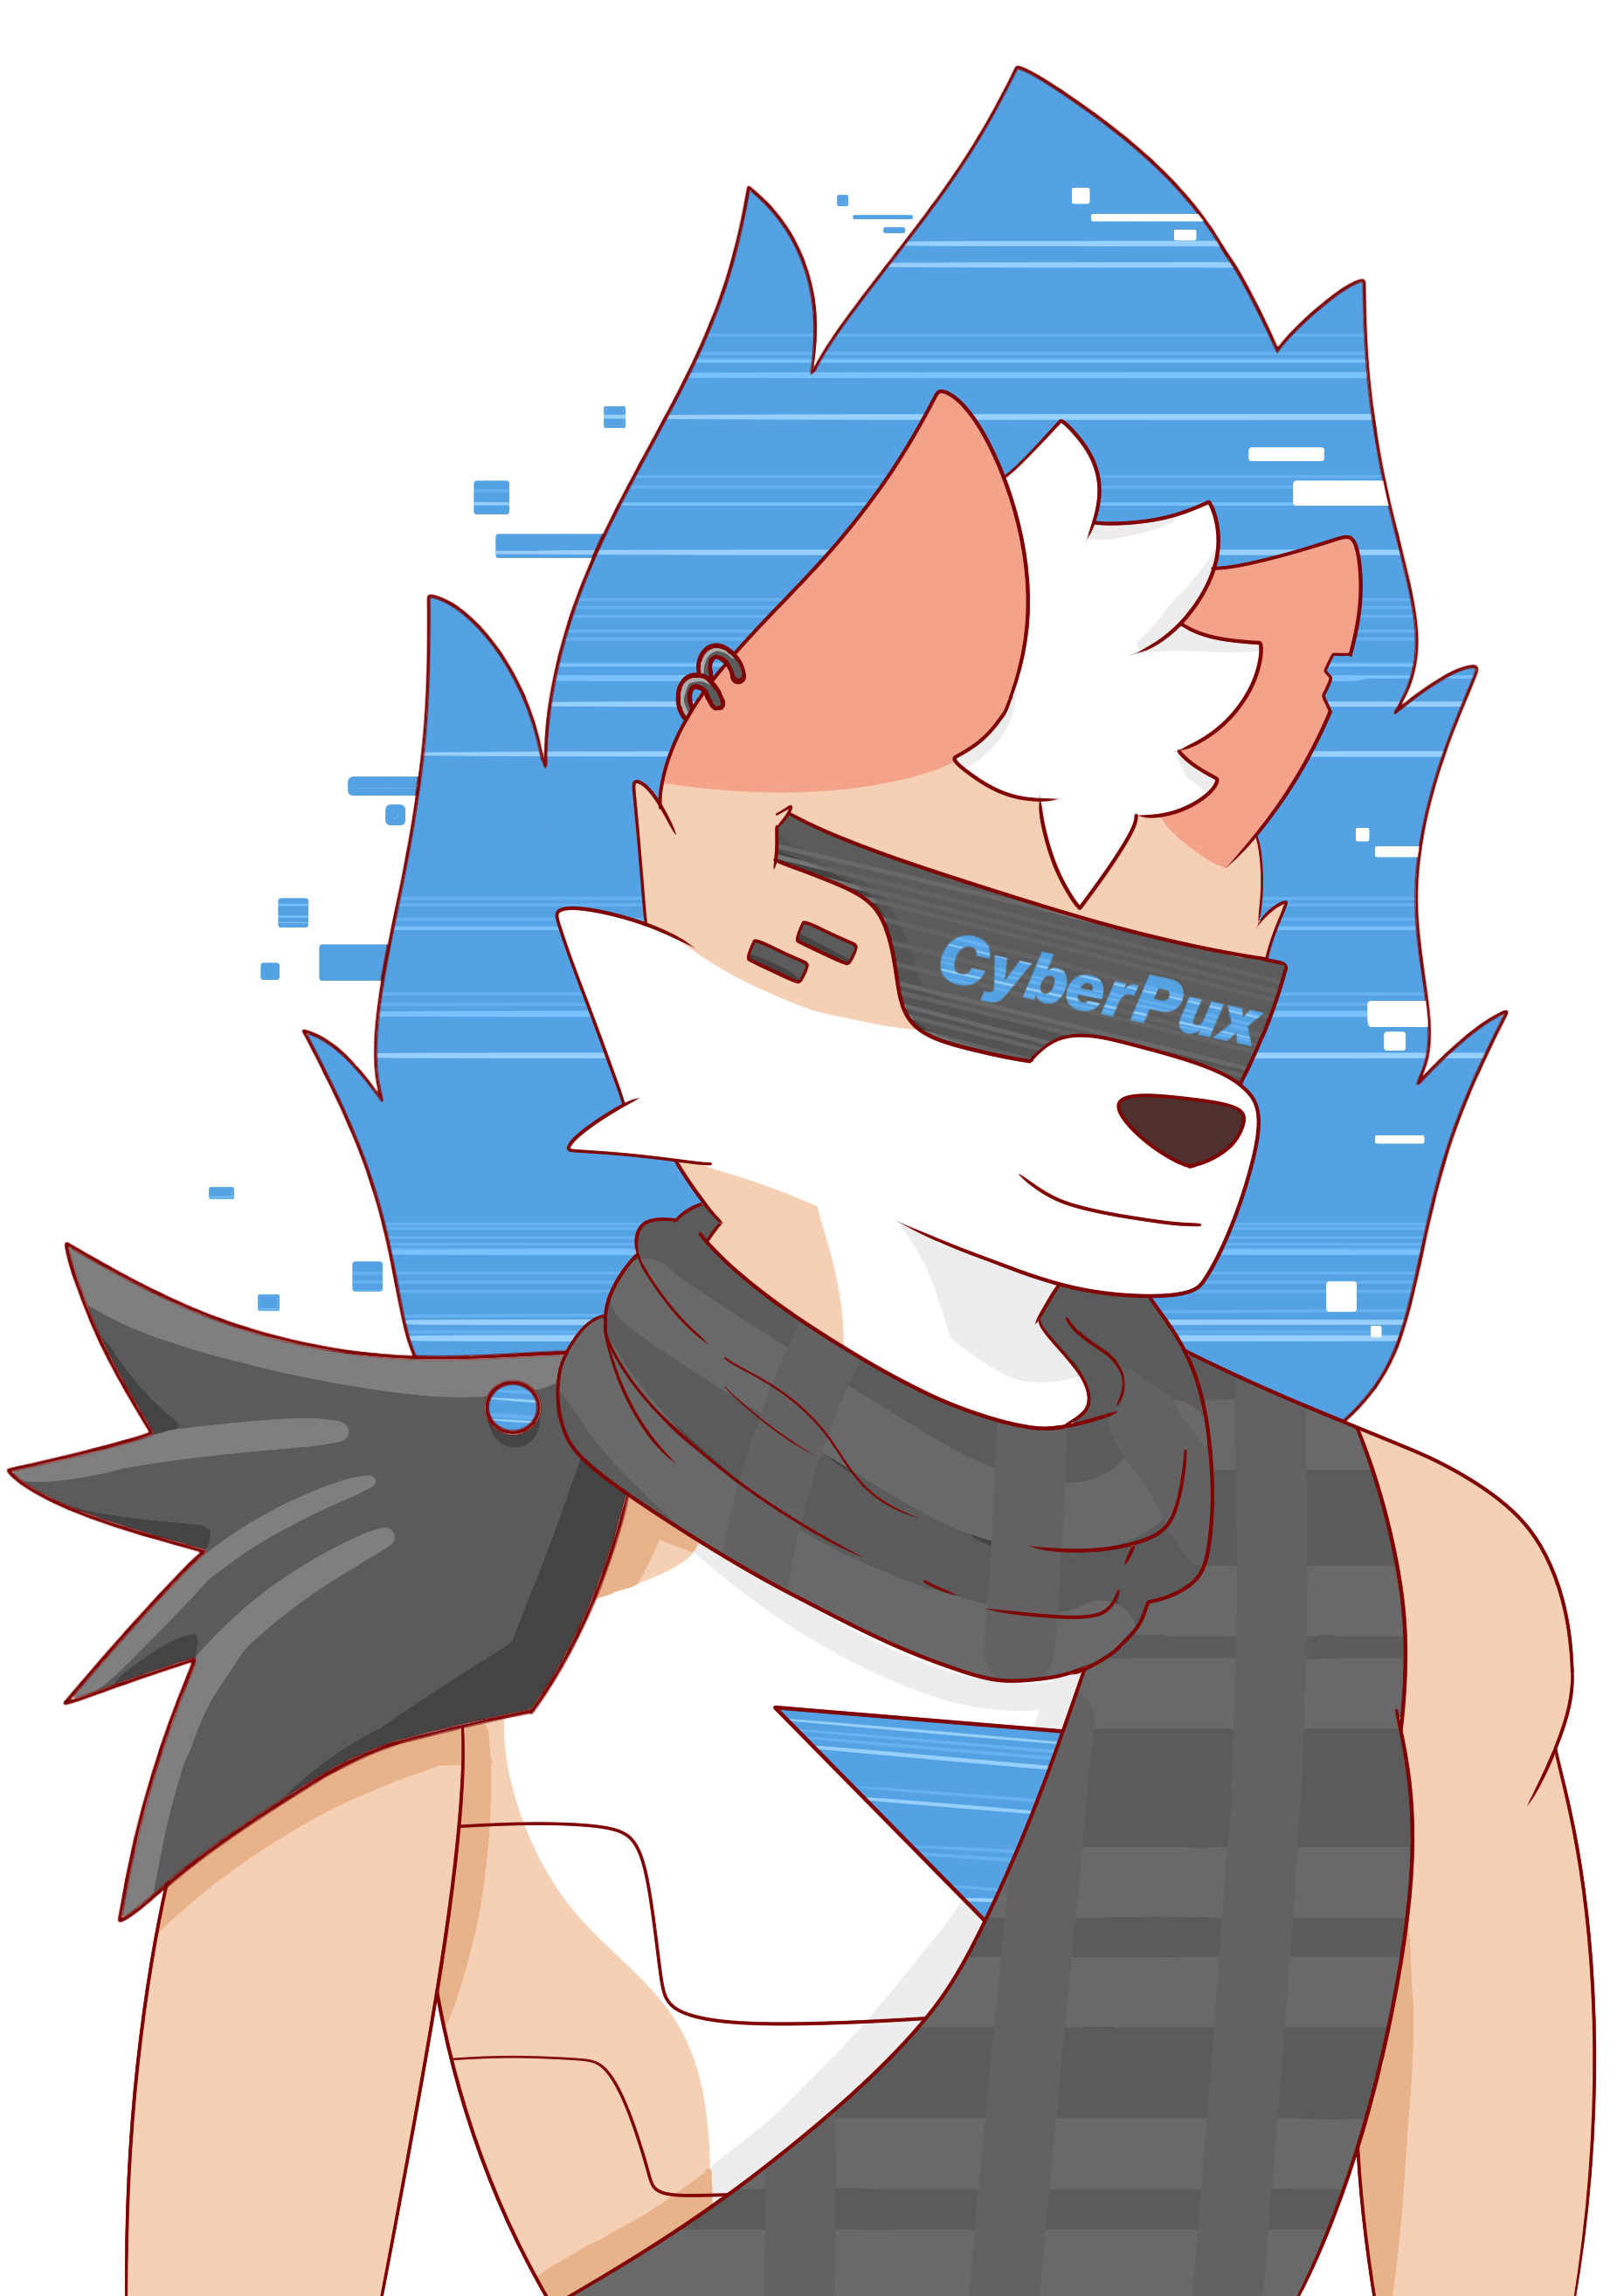
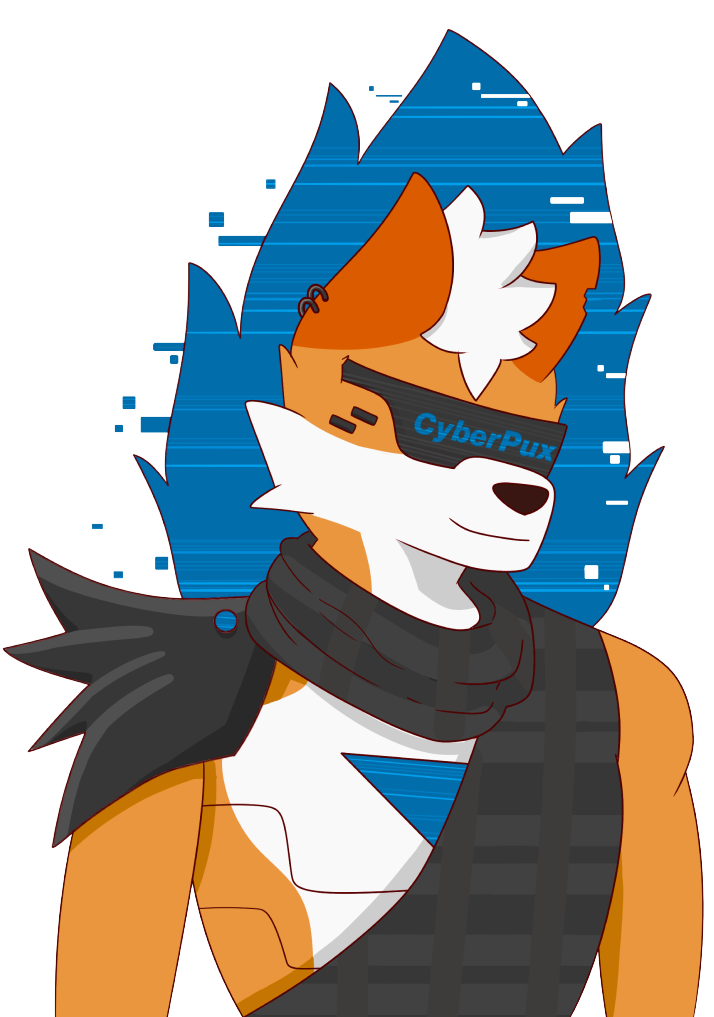
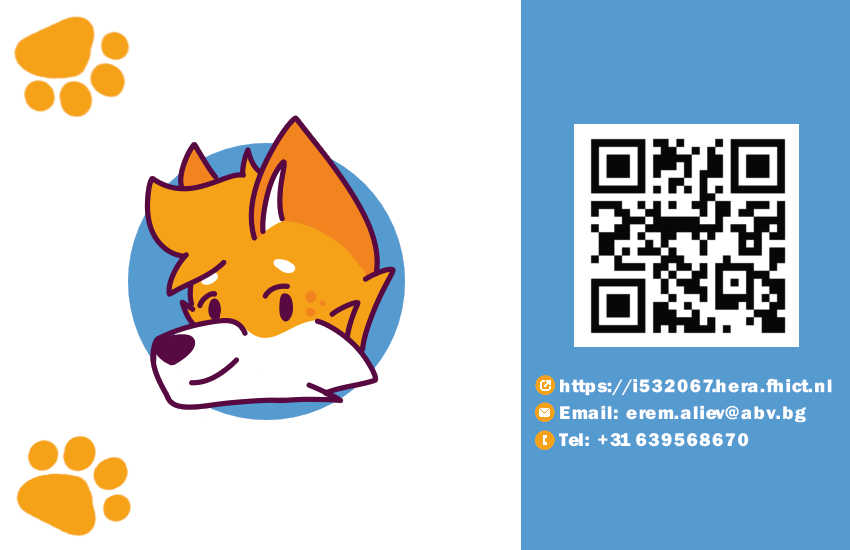
I kind of skipped the sketching part and immediately started drawing my character first before everything because it is something my hand is so used to do. One I had the headshot done, I was now looking at my inspiration and relayed heavily on it. Used their layout but the information and decoration was my own. I had as a goal to have one side very plane with my name and what I do, and the other side having all the informationg you might need along with a QR code that leads to my personal portfolio.
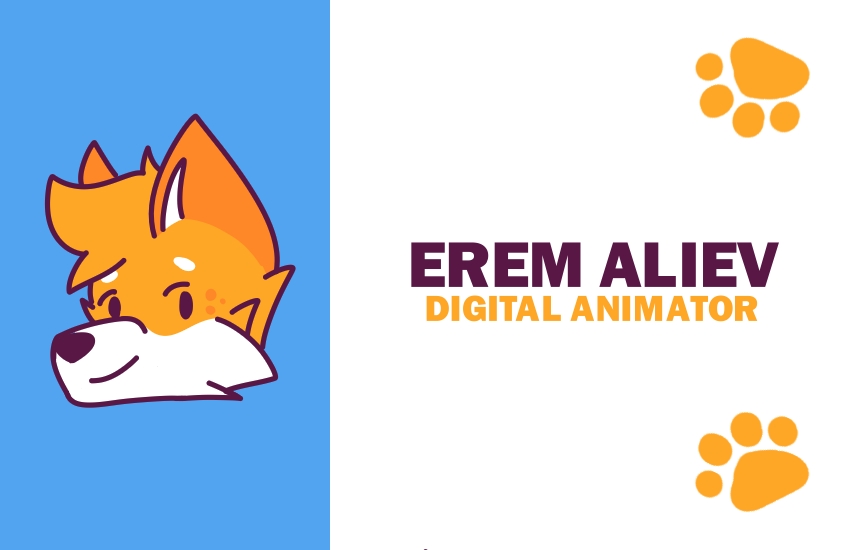
Result
Once I got some feedback, it was about adjusting the content inwards a bit because of the printers sometimes would just cut off part of the border so it is nice to have few milimiters space before your actual card starts. Along with that I adjusted a bit the information to be a bit more clear and ended up with a business card that represents me personally along with giving the necessary information about me.

Reflection
How did it go:
It went pretty well thanks to the fact I knew already what I kinda wanted and found a really good inspiration.
What did I learn:
I learned a bit more about printers, like that I need to use CYMK instead of RGB because that’s what printer uses as colours. Along with that, I realised how hard it actually is to make a business card because of all the information needed to be shown and make it readable and also interesting enough that people would get interested.
What I would do differently next time:
Will try to challange myself a bit more with presenting the information and go for more cartoony type of look even.