LEARNING OUTCOME 2

DEVELOPMENT

PERSONAL PORTFOLIO AND GIT

Goal

To make a user-friendly personal portfolio website where I can document my learning outcomes/my progression during this semester. Along side with that I will display my Git in this section.

MY GIT REPOSITORY

Process

Reuse:

I desided to reuse a theme from my previous semester, big part of it was taken, except how I show my documentation, that part has been fully reworked. I still kept the aesthetic but tried to make it so I would have a nice layout and make templates for it.

What new did I do:

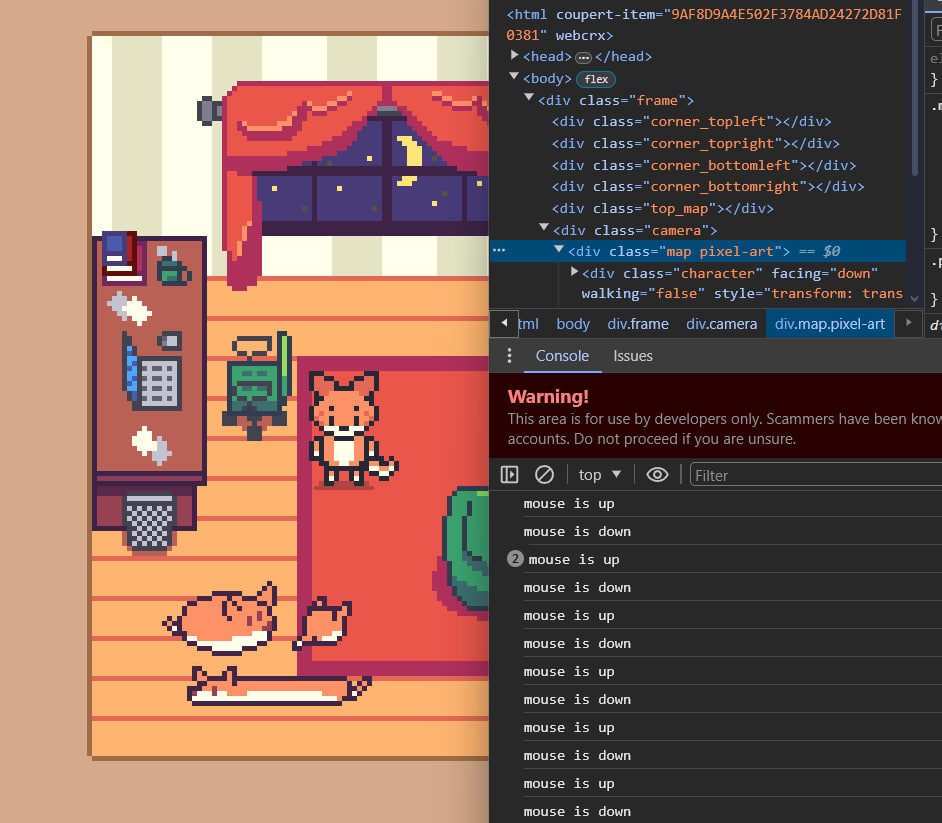
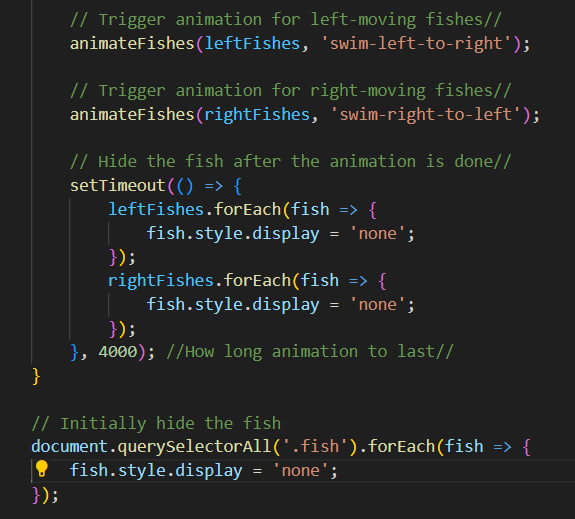
  • I was playing around that time with collapsibles and decided to use it as an easy way to go through my website, so you don't have to scroll for etirnety to find a section you want to read.
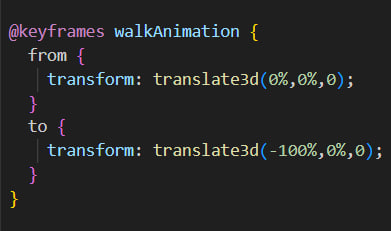
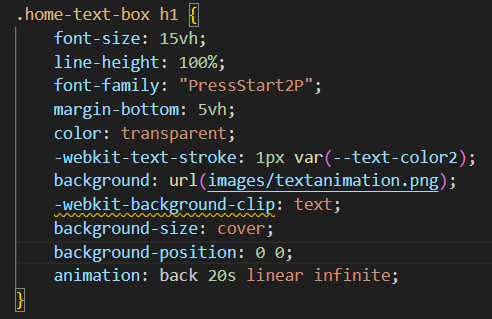
  • The landing pages on every single one I had to redo as well. I learned a very useful way to make font a bit more fun with some animation using medkit. That kind of animation with the tilted pixelated lines you see at the very top of every single page is that. For such a cool effect all it was is just background and webkit-background-clip.
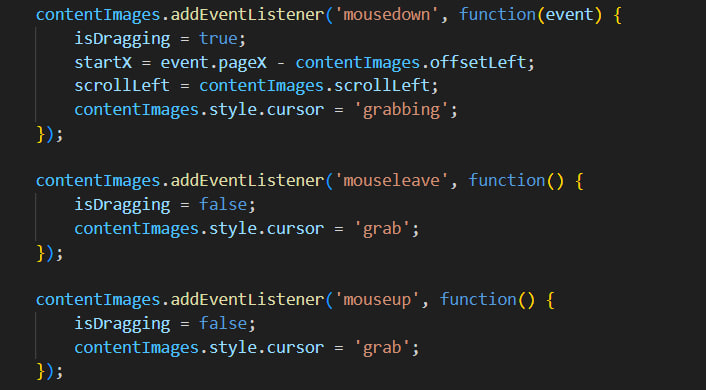
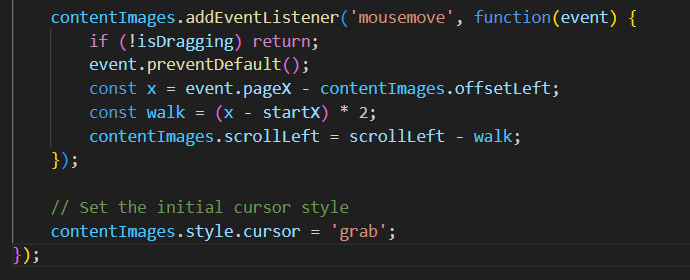
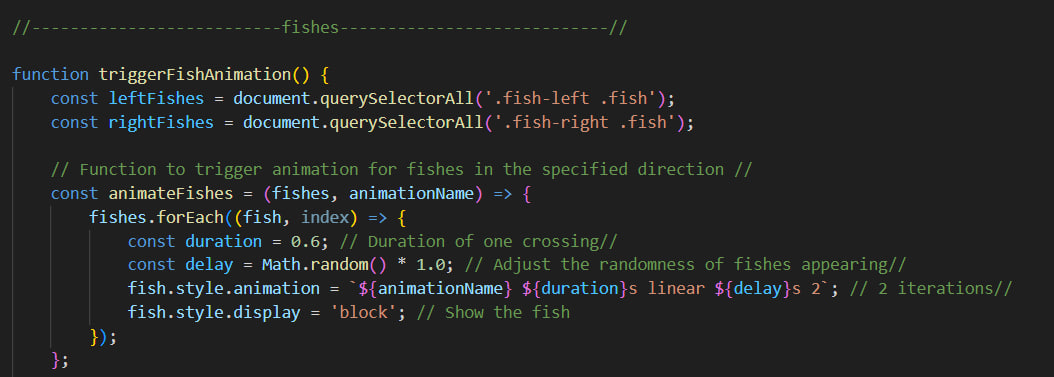
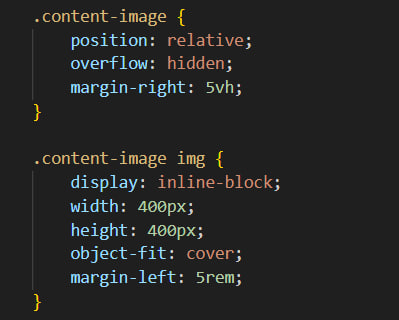
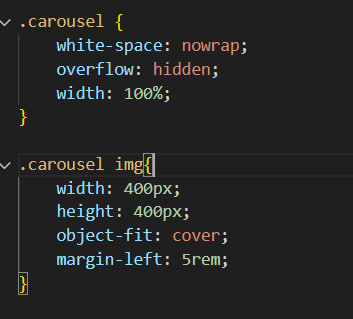
  • Another thing I was playing around with was carousel displaying of pictures. It was a great way of showing multiple pictures in full size without making the page look chaotic. One downside which I still haven't figured out why is that when it is called once on the first section, all sections after cannot read it, therefore I had to make seperate JS files for each time I use that carousel on a page. (More about the caruosel on a further section!)

Reflection

How did it go:

It was pretty stressful mostly because I didn't know how to document properly and with the help of some of my professors and classmates (Alicia and Artem) I managed to document in a good way. Once that was out of the way and I had an idea how I wanted it to look it was easy.

What did I learn:

I learned documenting, using carousel and collapsibles!

What I would do differently next time:

I really need to start using git more so that is definitely going to be my priority next semester, and ask professors more about it to fix any bugs I currently have with it. Another thing is I would definitely try find a theme from early on and stick with it so I have more time redo any parts if needed. I also would like to use some more semantics for the next semesters portfolio.

CAROUSEL

Goal

Learn to make a carousel to display multiple images with them being full sized. Along with that to make it so you can scroll with the drag and scroll.

Process

Learning

I started by looking in YouTube and websites for some tutorials on how to do it. It took me quite a while to find exactly what I wanted because most of the carousels were with a arrow button, which I did not want because it would make it more like a slideshow presentation. In the end I grabbed one that seemed as close as the end goal I had in mind and just took it as a base to work on. The main thing I wanted to make was just to have the images on grid with overflow hidden and have a scroll bar at the bottom. Once I was done with the CSS and used ChatGPT for some help with the JavaScript when it comes to the scrolling and dragging

JavaScript:

  • The first thing that this code does is it setting up event listeners to handle scrolling and dragging. This was causing me few issues because of that, once it runs it on the first place where this function is called, the rest of the sections would not be able to call it, so I had to make multiple JS files of the max times I have used the carousel on a page.
  • Once you start scrolling in the box where the images are, the "wheel" event is triggers. The event helps adjusting the scrolling of the carousel horizontally (left or right) based on how much you scroll vertically or horizontally.
  • Once you click and hold, a different events triggers which is mousedown. There are few stuff that are happening once thise event is being triggered. They are: setting "isDragging" to true, the inital click of the mouse, the current state/scroll position of the carousel and it also changes the cursor style to dragging. Along with that we have the opposite which is triggered when you release the hold which stops the dragging.

Result

As a result I have this carousel which you can see here above. It works with any image sizes, and also you can either scroll, or hold and drag with the mouse.

Reflection

How did it go:

It was a slow start but once I had the ball rolling it started to get a bit the hang of it. Still looking back at the code and trying to learn step by step.

What did I learn:

I Surprisingly learned a bit of the JS used for that part of the project, but only small part of it.

What I would do differently next time:

I hope I can understand everything in the JS file I have in currently for that part so if I need to change or debug I would be able to.

MINI RPG PIXEL GAME

Goal

Create a mini top-down pixel art game using HTML, CSS and JS.

Process

Quick research:

Once I had my pixel art done and ready, I started looking around for some guidelines on how to make an RPG-like game using HTML, CSS and JS. Sadly not many people have tried doing game using such these days so it was hard to find any information. Eventually I found few really good resource.

CSS:

I was amazed by how the walking animation for pixel art works when doing it as a website. Having a sheet with my character with each position its facing and its animation, which was 4 by 4, using some keyframes and calc and a little bit of JS you can make it so it jumps from the first part of the sheet to the next one. What I mean by that is let's say you want to go right, well right animation is on the 2nd row and has 4 frames, with that function and calc, the view cuts from the first frame of that row to the last one, creating animation. Another thing you might see is the buttons with directions you can use at the bottom-right corner, I wont be talking too much about them because they are copy pasted.

>
SOURCE OF KNOWLEDGE 1 SOURCE OF KNOWLEDGE 2

JavaScript:

It was the most annoying but satisfying part of the whole project. There were a lot of new things I did not know and was struggling fixing any type of issues because of it.

  • First I was adjusting the obsticles which took quite some time. When setting up the grid in here, it didn't seem to be the same as when I was doing the art. Thankfully the grid is kust 9x11 so it was alright to go and check which one corresponds to which part of the map. With this my character won't be able to pass through those objects (grids). Another small issue I came across is with the collusions. When you go behind one of the objects I want the character to be behind, and when down infront to be on top. I tried by layering cropped part of the objects but is still very buggy. Another solution that might do the work is add a threshold, if my character is above that dividing line those objects are higher than my char, if I am under the line then the char is higher. So javascrips that sets the css to different value based on vertical positioning, but I am yet to try it out.
  • Further, I have a section which determines the new potential position (newX, newY) by checking the current held direction (right, left, down, or up) and adjusting the coordinates accordingly. Then, it calculates the new tile position on the grid. Before finalizing the movement, it checks if the new tile position is an obstacle using the "isObstacle" function. If the new position is not an obstacle, it updates the character's coordinates and sets the character's facing direction to the current held direction.
  • Next I have a section where I decide on where the walls are going to be to prevent the character from moving out of bounds. If the character's new position exceeds any of these limits, it resets the position to stay within the allowed range. Finally, it updates the character's position on the screen using CSS transform to translate the character based on its coordinates and the defined pixel size.
  • Finally I have a small part where I made a loop for the walking animation when you hold the keys depending on which direction you are holding to go. I talked a bit more about that in the CSS part. Along with that here I asign which ' key corresponds to what on they keyboard (which here are the arrows on the bottom right corner of your keyboard).

Result

I made a mini top-down pixel art game using HTML, CSS and JS! You can walk around with the character in the room with some objects on the way that you can walk around. Click bellow to try it out:

PIXEL RPG

Reflection

How did it go:

It was a long process but I am so satisfied and happy as it is something I really want to do in the future which is game design. There are still lot of things I could have done better but there is always going to be room and time for improvement. As a first time trying such thing out I am pretty happy.

What did I learn:

About Sprite sheets and how they make pixel art animation when walking using CSS animation and JS loop. Simply said some more about JS on how to set bounderies (walls or obstacles).

What I would do differently next time:

I want to fix any bugs I couldn't fix and also add a few objects you can interact with or perhaps another character you can interact and have a dialogue.

BOUNCING PUX

Goal

As a goal I had to make a picture of my character bounce around the window using @keyframes.

Process

Playing around:

During Metaxas workshops we got introduced to keyframes. We learned the very basics and tips such as if we have hard time thinking where the character would land, we can simply just do it frame by frame before telling it to do the animation. Using procentages, we say at what time/part of the animation we want something to happen (like being shown at the example bellow). Another thing we played around was the actual animation itself, how fast it goes, where it is slower and where faster and looping

Result

What I end up doing is putting my own character and make it bounce around the page instead of just a square because I thought it was funny.

BOUNCING PUX

Reflection

How did it go:

It was pretty good first Introduction to keyframes. That was the moment where I found myself liking the keyframes and got curious what else can you do with them

What did I learn:

I learned the very basics of keyframes with simply just moving an object, adjusting where to go, how to go and at what speed.

FLYING FISHES

Goal

Using @keyframes and some JS, I had to make a small animation of fishes flying from on side of the screen to the other one, triggered by a button, and along with that the animation would be always random phase of the fishes flying. This was used as a EasterEgg for our FontysICT Development part.

Process

Keyframes

I had to start with the @keyframes and adjusting the trajectory they fishes are flying. this took probably most of my time adjusting the fishes where exactly I want them to be when going from left to right. Once I had one of the sides figured I just copied the same but doing it for the opposite side, making so they are flying from each side to the other.

JavaScript:

When it comes to the JS for that there are a couple of steps:

  • First we have the variables for left and right fishes. After that we make the function to trigger the animation, in which we say how random and how long do I want the fishes to be flying.
  • Further, on the 2nd section we have the left and right trigger of the keyframes animation, and also a timer (currently set on 4 sec) after which the fishes are being hidden. I can adjust as you like every part of the animation and function, make it as long and as random as I want it to be!
>

Result

I made an EasterEgg using keyframes and some JS which is adjustable in a sense how fast do you wnat the animation to be and how ranodm. Click bellow to try it:

FLYING FISHES

Reflection

How did it go:

It went pretty good! I got the chance to explore more about keyframes and play around with them.

What did I learn:

I a bit more about keyframes and how to make delays and durations with JS.

What I would do differently next time:

I want to make the animation even more full of fishes going in all different directions, for this I would need to learn a bit more about keyframes and see if there is a way to randomize them without having to write keyframes for each fish from each side.